How to Save macOS Screenshots Anywhere with Shortcuts (Part 1)
Whether you’re working with macOS, iOS, or even iPadOS, there’s no denying that Shortcuts are a game-changer when it comes to simplifying your workflow. These tools are perfect for automating repetitive tasks and saving you valuable time, whether you’re a blogger, content creator, or just someone looking to stay organised. In this post, I’ll walk you through how I used to handle screenshots for my blog and how I’ve since streamlined the entire process using a combination of Automator and Shortcuts.
·
Jan 13, 2025

With my previous blog and this one, I’ve taken a bunch of screenshots for each post. It can get a bit messy when I try to organise them. Over the years, I’ve changed my process a bit. When I first started, I’d take screenshots on my iPhone or iPad, then use the Apple Frames shortcut. Then I’d upload the images from my iPhone or iPad directly to my old WordPress site.
Now, things are a bit different. With macOS 15 we have iPhone mirroring, which lets me create the shortcut while I’m connected to my Mac. I also use the Mac’s screenshot key command, “Command-Shift-4,” to grab the mirrored iPhone screen. Unfortunately, there’s no mirroring option for the iPad, but you can still use AirPlay.
On the bright side, this site is better suited for my needs.
Even though things have changed, it could still be easier. That’s the whole point of Shortcuts right! to make repetitive tasks easier.
My problem…
For ease of use I store everything directly on iCloud, it makes life so much easier, so I start a post by creating the directory structure in iCloud, then start on the contents and images etc First of all, when you take a screenshot on macOS they are automatically saved to the Desktop by default. Yes I know you can change the default location if you wanted to, but my location will different for each post.
So at it’s simplest I wanted the ability to save the screenshots to a directory that would relate to the blog I’m working on. For this we’re going to need the help of the Automator application as well as Shortcuts.
For those who have never used Automator, fear not. Automator is a macOS built-in application released with Mac OS X 10.4 Tiger way back in 2005 which was designed to help users automate repetitive tasks without requiring programming skills. It provides a drag-and-drop interface where users can create workflows, applications, and scripts by combining pre-built actions.
Automator supports a wide range of tasks, such as renaming files, resizing images, moving files, sending emails, and more. It integrates seamlessly with macOS and many of its apps, including Finder, Mail, and Calendar.
Automator workflows can be run manually, scheduled, or triggered by specific events, making it a powerful tool for improving efficiency and productivity. So, you could say it was Apple’s entry into what we now have in the Shortcuts application.
One of Automator’s qualities is the ability to create Folder Actions; these can be triggered by the contextual menu (Hold the Control key (⌃) and click or Use a Mouse with Right-Click) or can be triggered automatically. We will make use of the latter.
So let’s begin.
Open Automator, which is in your Applications folder.
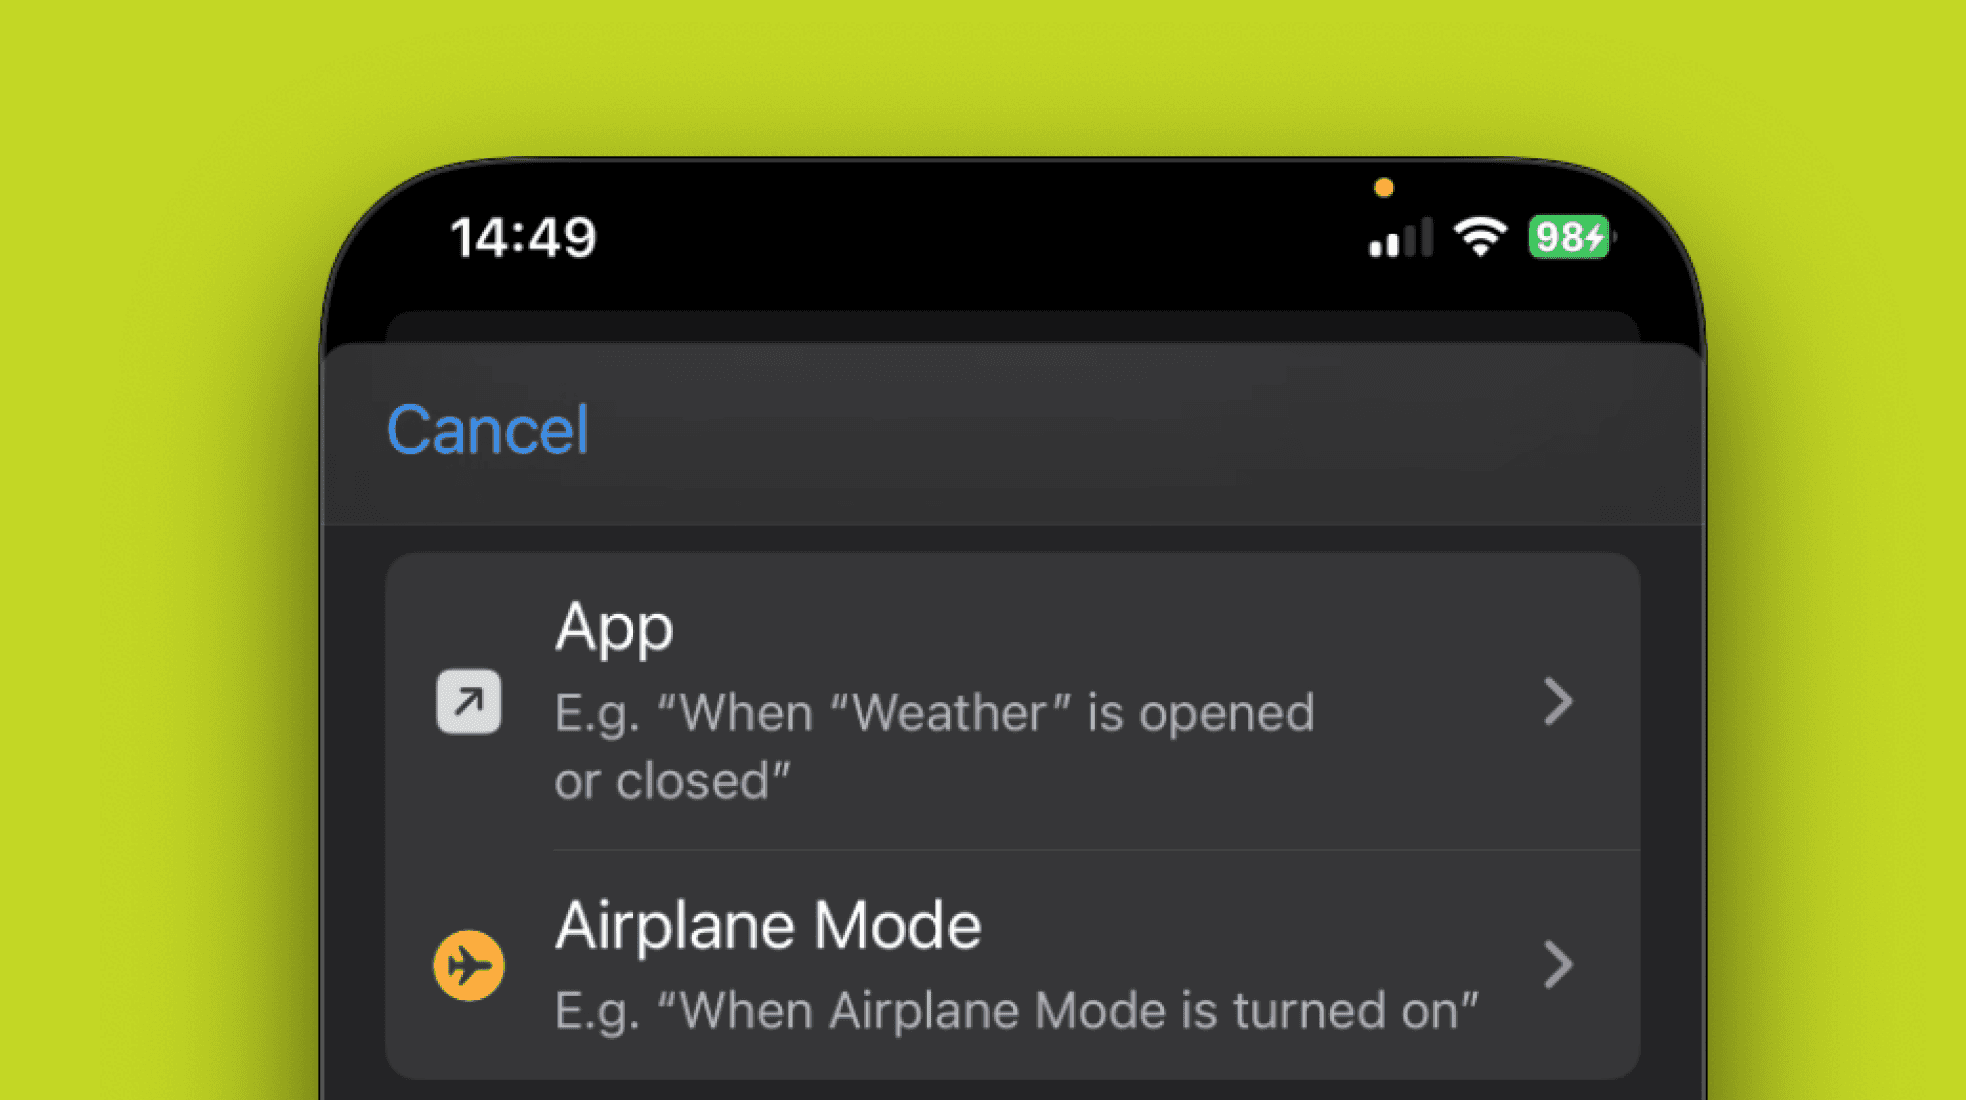
You’ll see a bunch of cool automations we can set up, like Workflows and Calendar Alarms. The one we need is Folder Action.

Click on Folder Action and then choose the Choose button.
On the next screen, we need to pick the folder we want to apply the Folder action to. In this case, it’s the Desktop. Click on the Choose Folder dropdown at the top and select Other. This will open a Finder window so you can choose your Desktop folder. You can use a shortcut to get to your Desktop folder: press ⇧ (Shift) and ⌘ (Command) and D. This will take you straight to your Desktop. Then click on the Choose button.


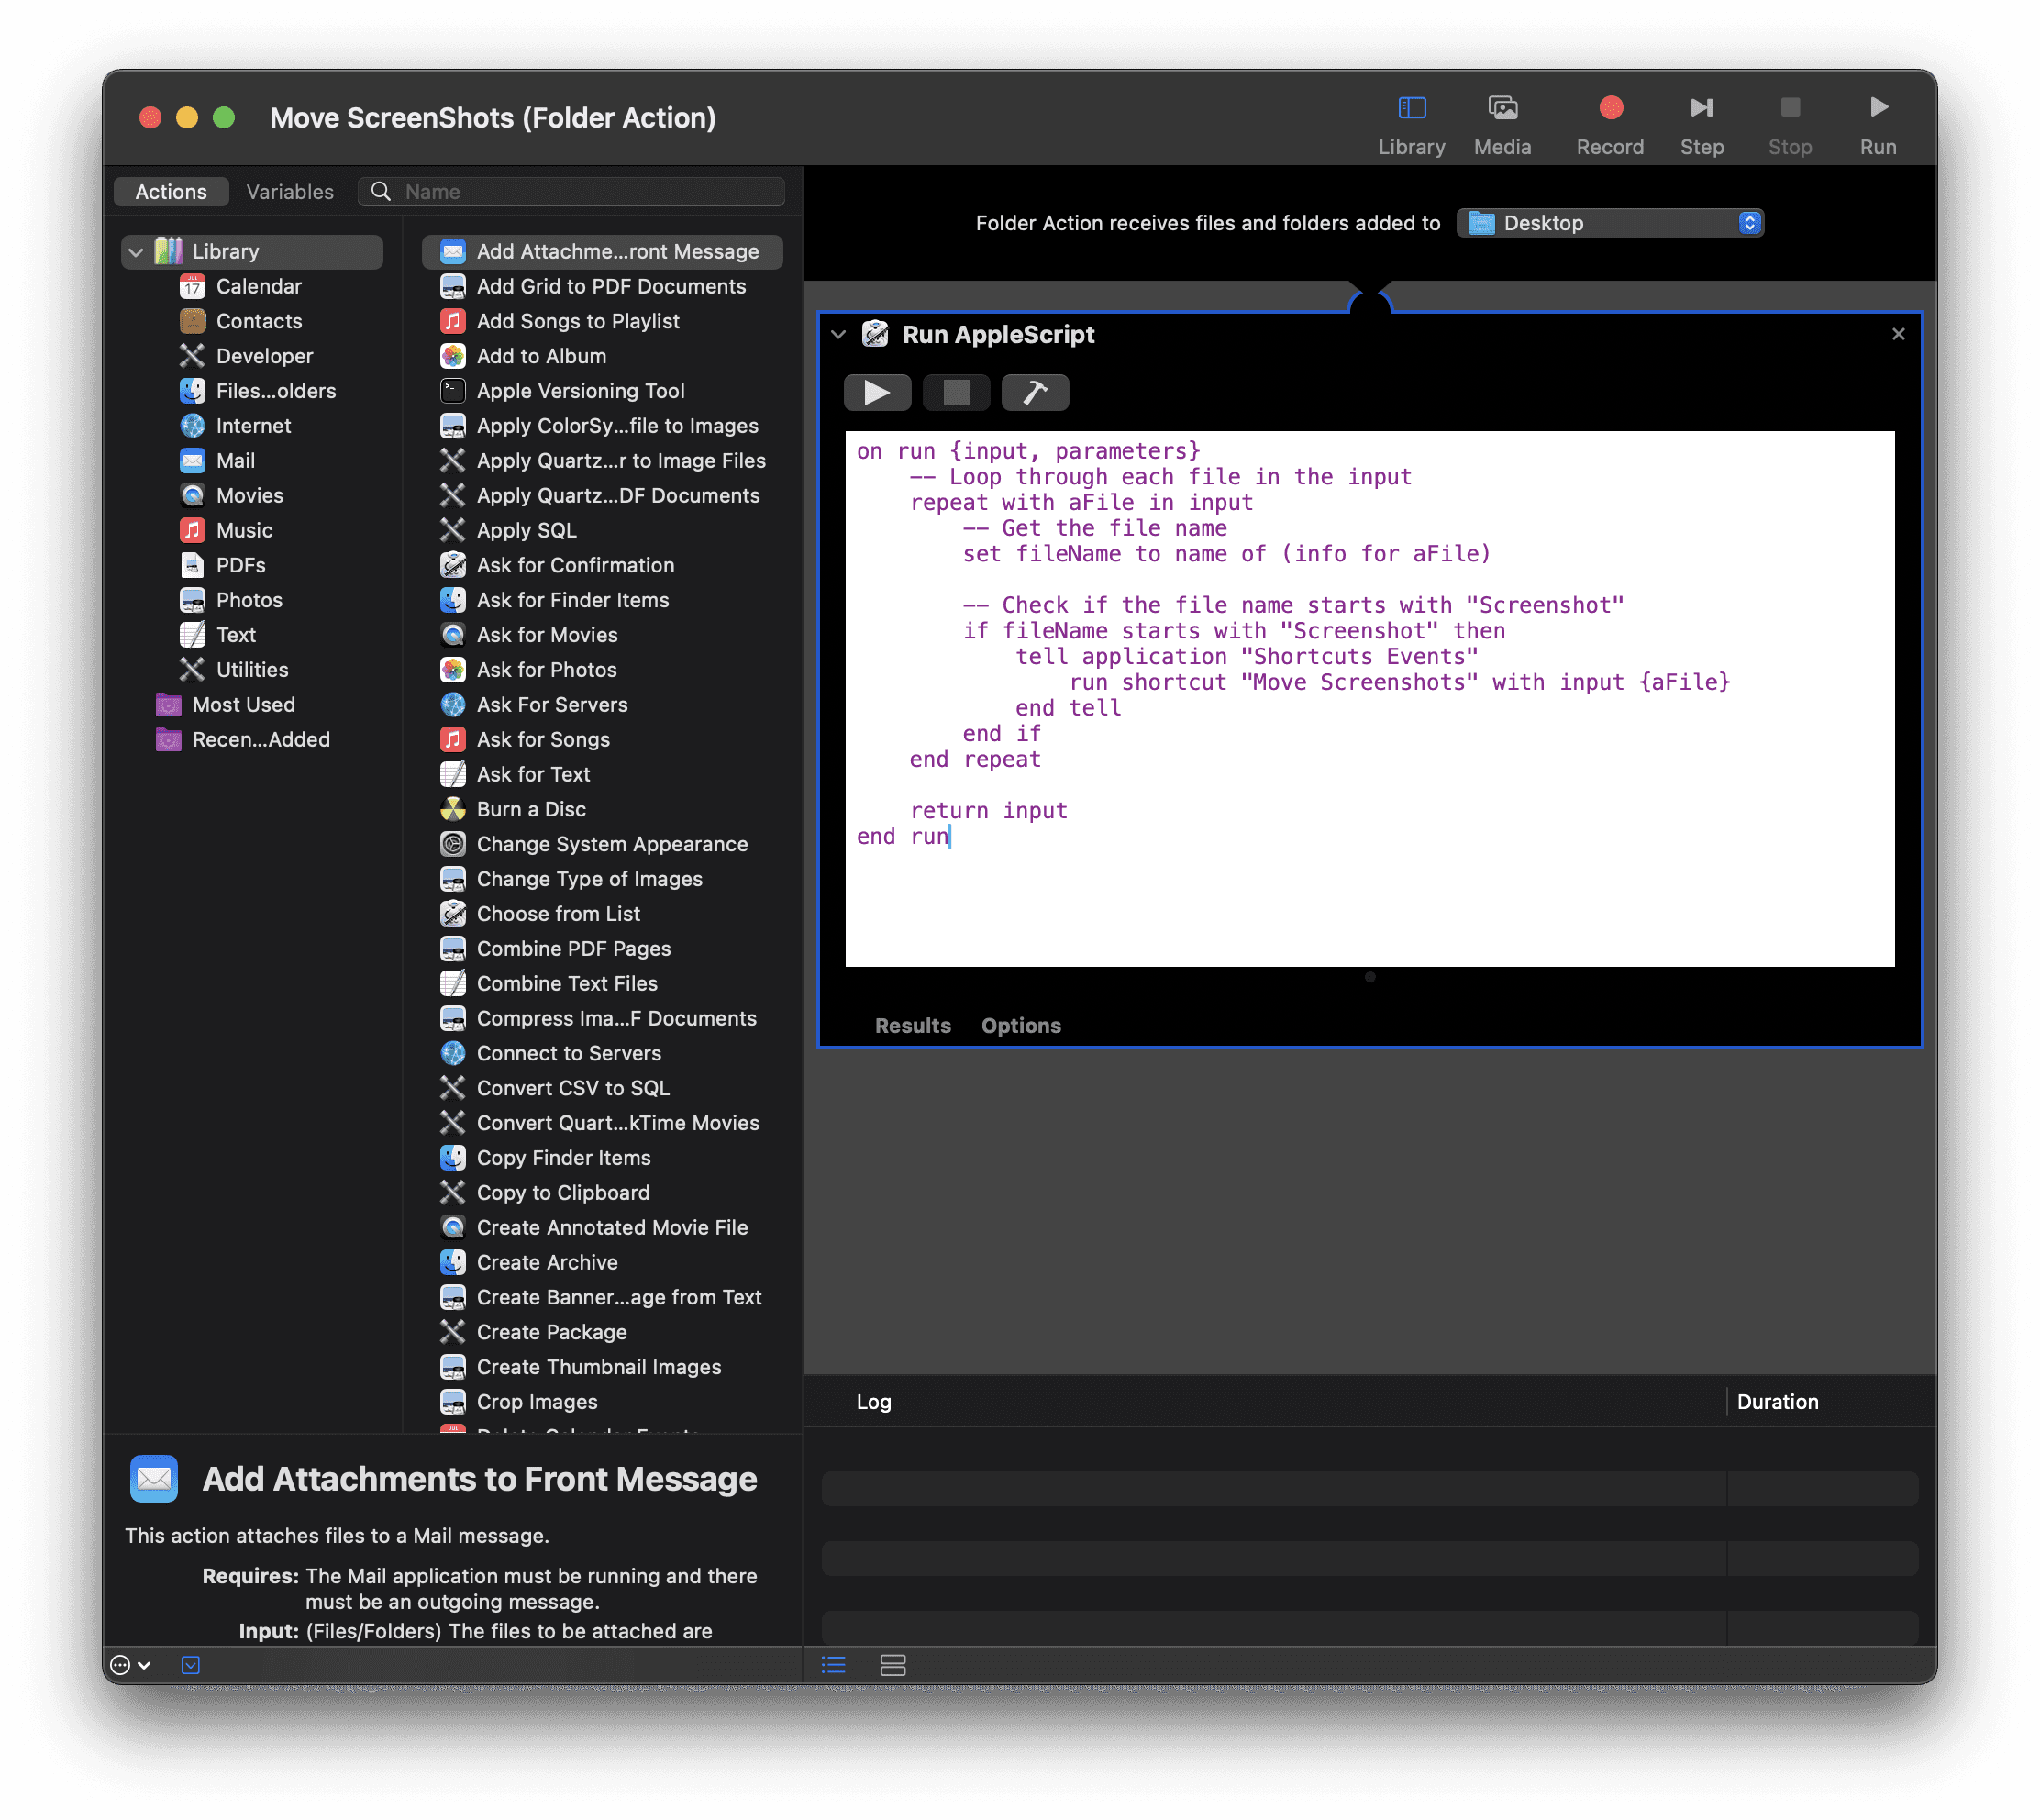
Now we need to tell Automator what to do when the Desktop Folder action is triggered. For this, we want to search for Run AppleScript. In the Search bar, type Run AppleScript.
Click on Run AppleScript and drag it to the main window.
You’ll see some script automatically filled in. You can delete it if you want.


Now, type the following into the script panel.
on run {input, parameters}
-- Loop through each file in the input
repeat with aFile in input
-- Get the file name
set fileName to name of (info for aFile)
-- Check if the file name starts with "Screenshot"
if fileName starts with "Screenshot" then
tell application "Shortcuts Events"
run shortcut "Move Screenshot" with input {aFile}
end tell
end if
end repeat
return input
end run
Before we move on, let’s take a moment to review what this script is all about.
Script Analysis
1. on run {input, parameters}
This line defines the main entry point for the script. It takes two parameters:
• input: A list of files or items passed to the script (in this case, files added to the monitored folder).
• parameters: Any additional parameters passed to the script (not used in this example).
2. repeat with aFile in input
This begins a loop that processes each file in the input list one at a time. The variable aFile represents the current file being processed.
3. set fileName to name of (info for aFile)
• info for aFile: Retrieves metadata about the current file, such as its name, size, and creation date.
• name of: Extracts the name of the file (e.g., “Screenshot 2023-01-13.png”) from the metadata.
• The file name is stored in the variable fileName for use in subsequent steps.
4. if fileName starts with “Screenshot” then
This checks if the file name begins with the word “Screenshot.”
• Condition: If true, the script will proceed with the next steps.
• If false, the script skips the current file and moves to the next one in the loop.
5. tell application “Shortcuts Events”
This tells the AppleScript to communicate with the Shortcuts Events application (a macOS feature for interacting with Shortcuts).
6. run shortcut “Move Screenshot” with input {aFile}
• run shortcut “Move Screenshot”: Executes the Shortcut named “Move Screenshot.”
• with input {aFile}: Passes the current file (aFile) as input to the Shortcut. This allows the Shortcut to perform an action, such as moving the file or processing it in some way.
7. end tell
This ends the communication with the Shortcuts Events application.
8. end repeat
Marks the end of the loop. The script moves to the next file in the input list, repeating the process.
9. return input
Once all files have been processed, the script returns the original input list. This ensures that the processed files are passed along for any further actions in the Automator workflow.
Summary of What the Script Does
1. It processes files added to a folder monitored by the Automator Folder Action.
2. For each file:
• Retrieves the file’s name.
• Checks if the name starts with “Screenshot.”
3. If the file matches the condition:
• Calls a Shortcut named “Move Screenshot,” passing the file as input.
4. After processing all files, it returns the original list of files.
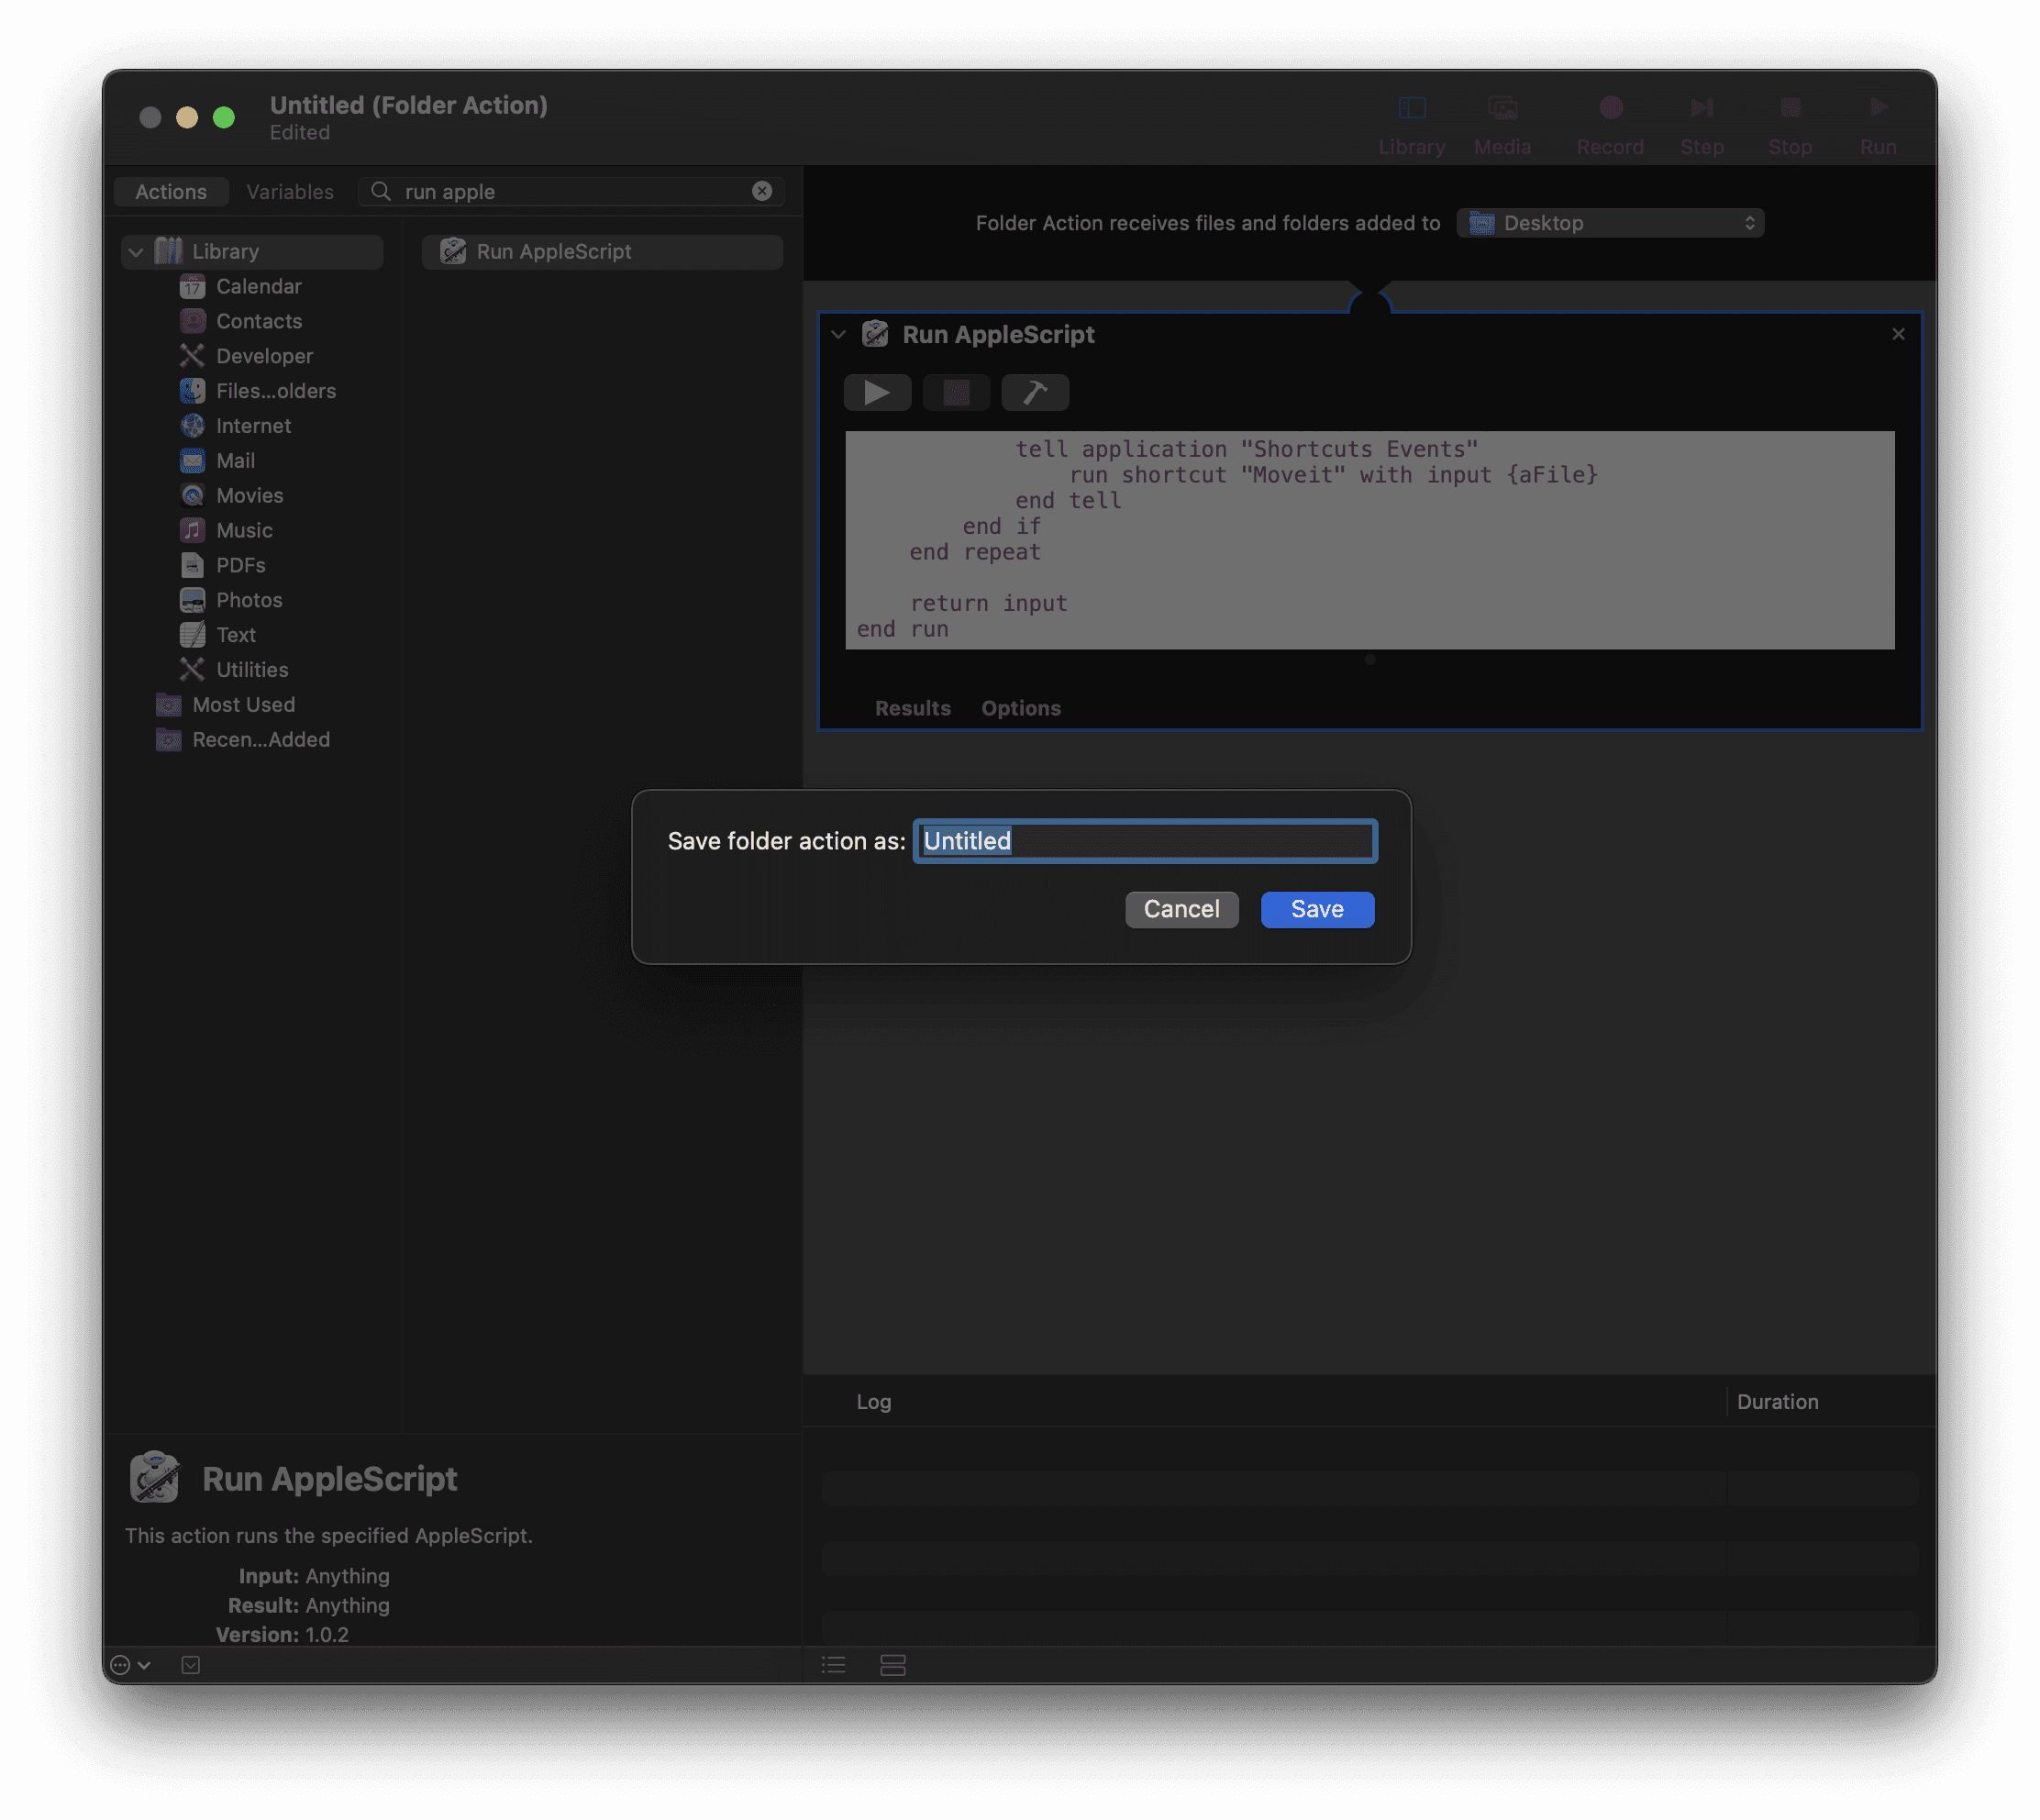
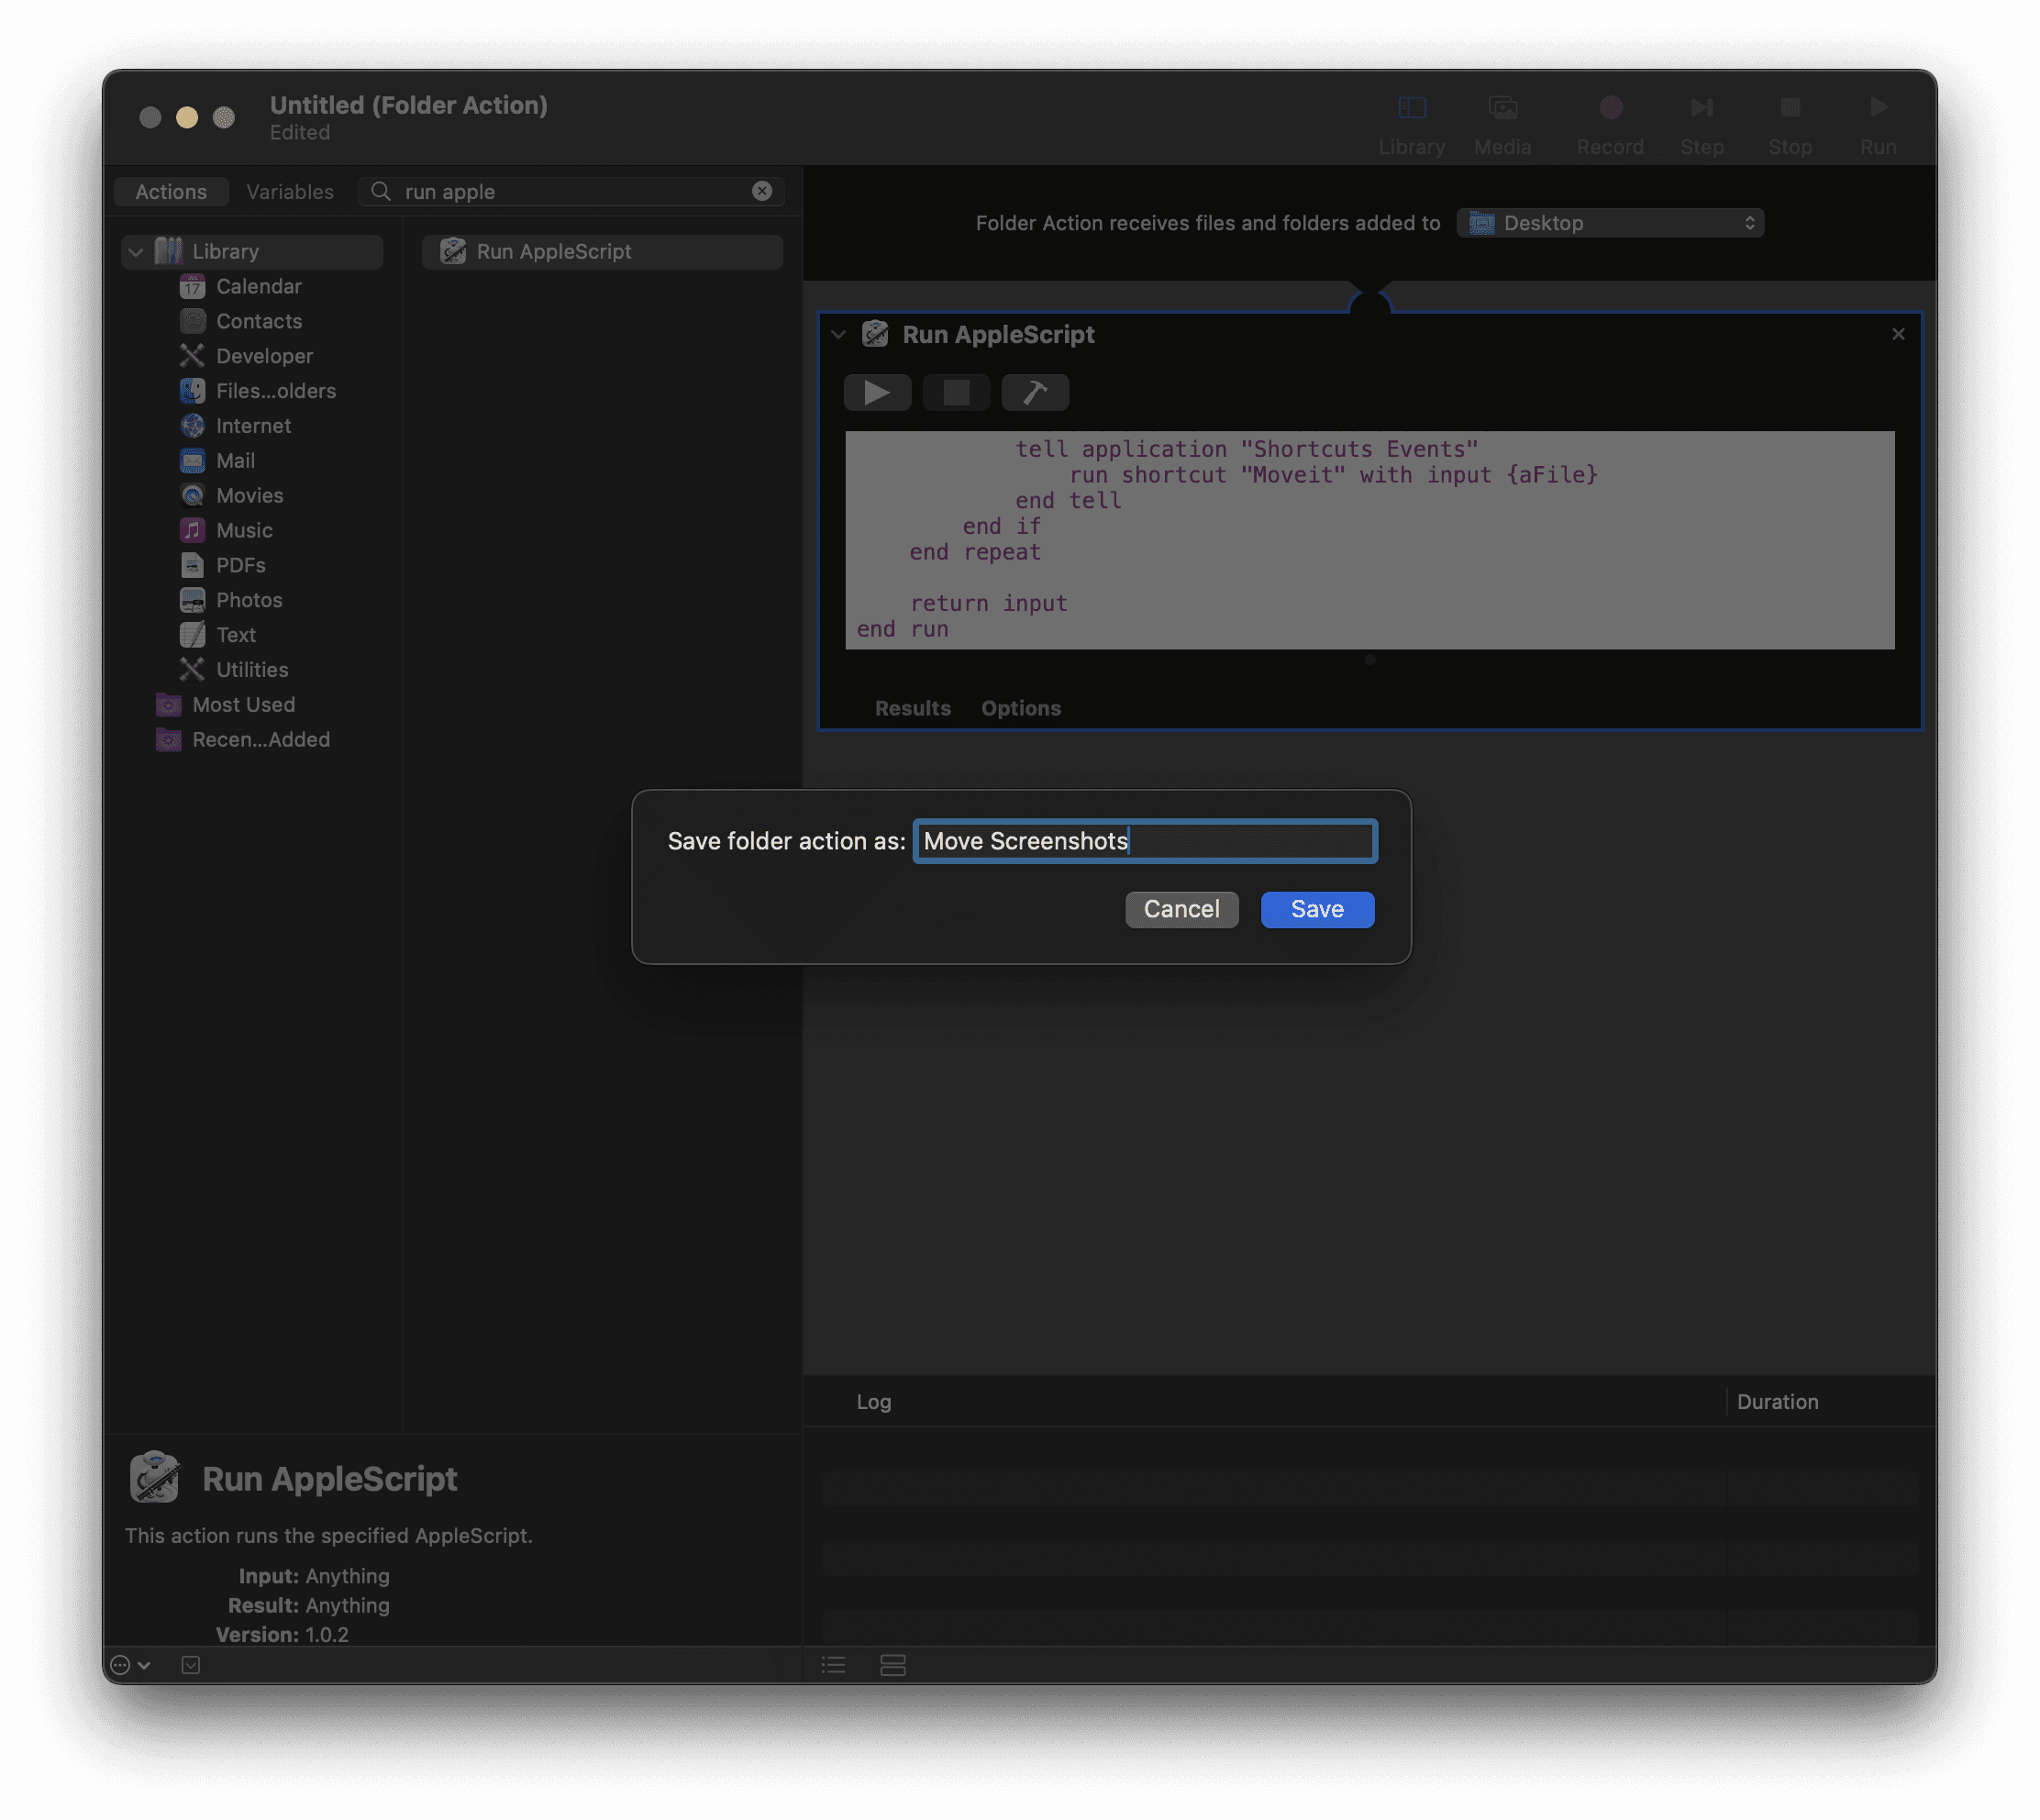
Now we've covered what the script does we can go ahead and save the Automator Action, (File, Save)
Now with the Automator Folder Action completed, we can get cracking on the Shortcut.
1. Open the Shortcuts App
• On your Mac or iOS device, open the Shortcuts app.
• Click the ”+” button in the top-right corner to create a new Shortcut.
• Name the Shortcut “Move Screenshot” (optional but recommended).
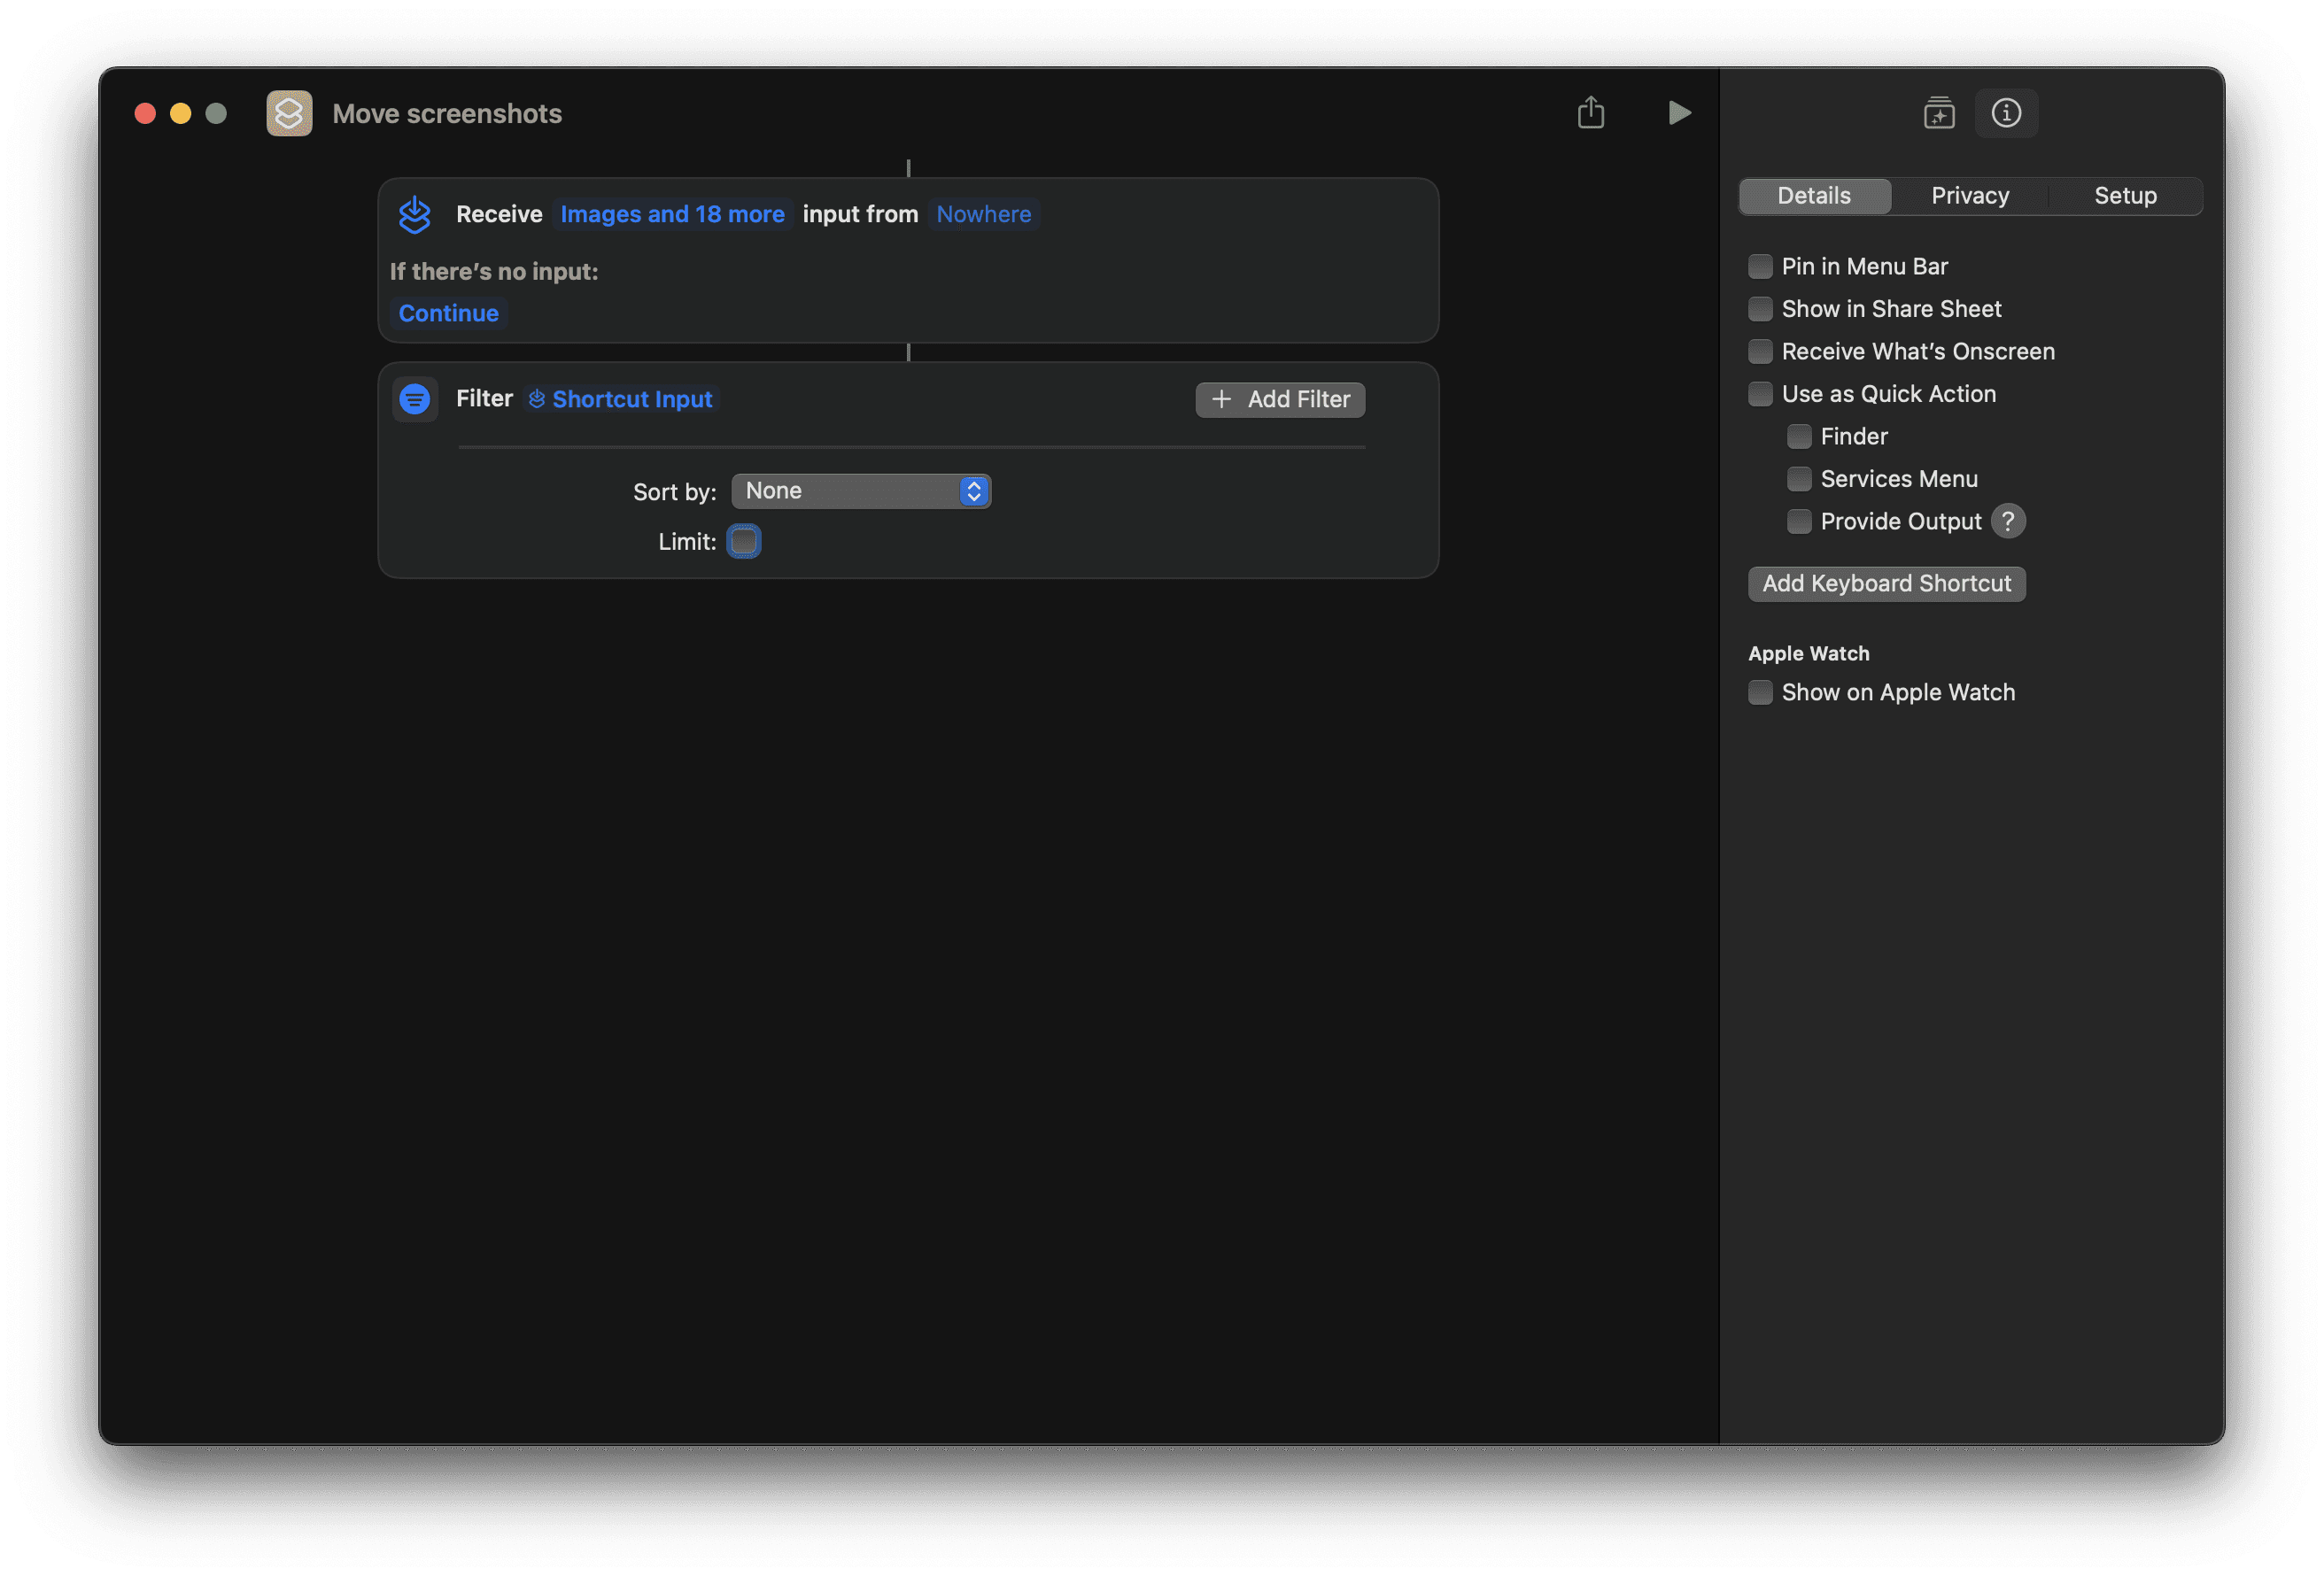
2. Add the “Receive Input” Action
• Tap to open Details, then turn on Receive What’s On Screen.Tap Done.
• Configure it:
• Receive Input: Set it to “Images and 3 more” (click to select the specific types of input you want to handle, e.g., images, PDFs, etc.). More information on input types visit https://support.apple.com/en-gb/guide/shortcuts/apd7644168e1/8.0/ios/18.0
• Input From: Set to “Nowhere” (indicating the input comes from the Automator action or manually triggered context).
• Leave the option “If there’s no input” with its default behaviour

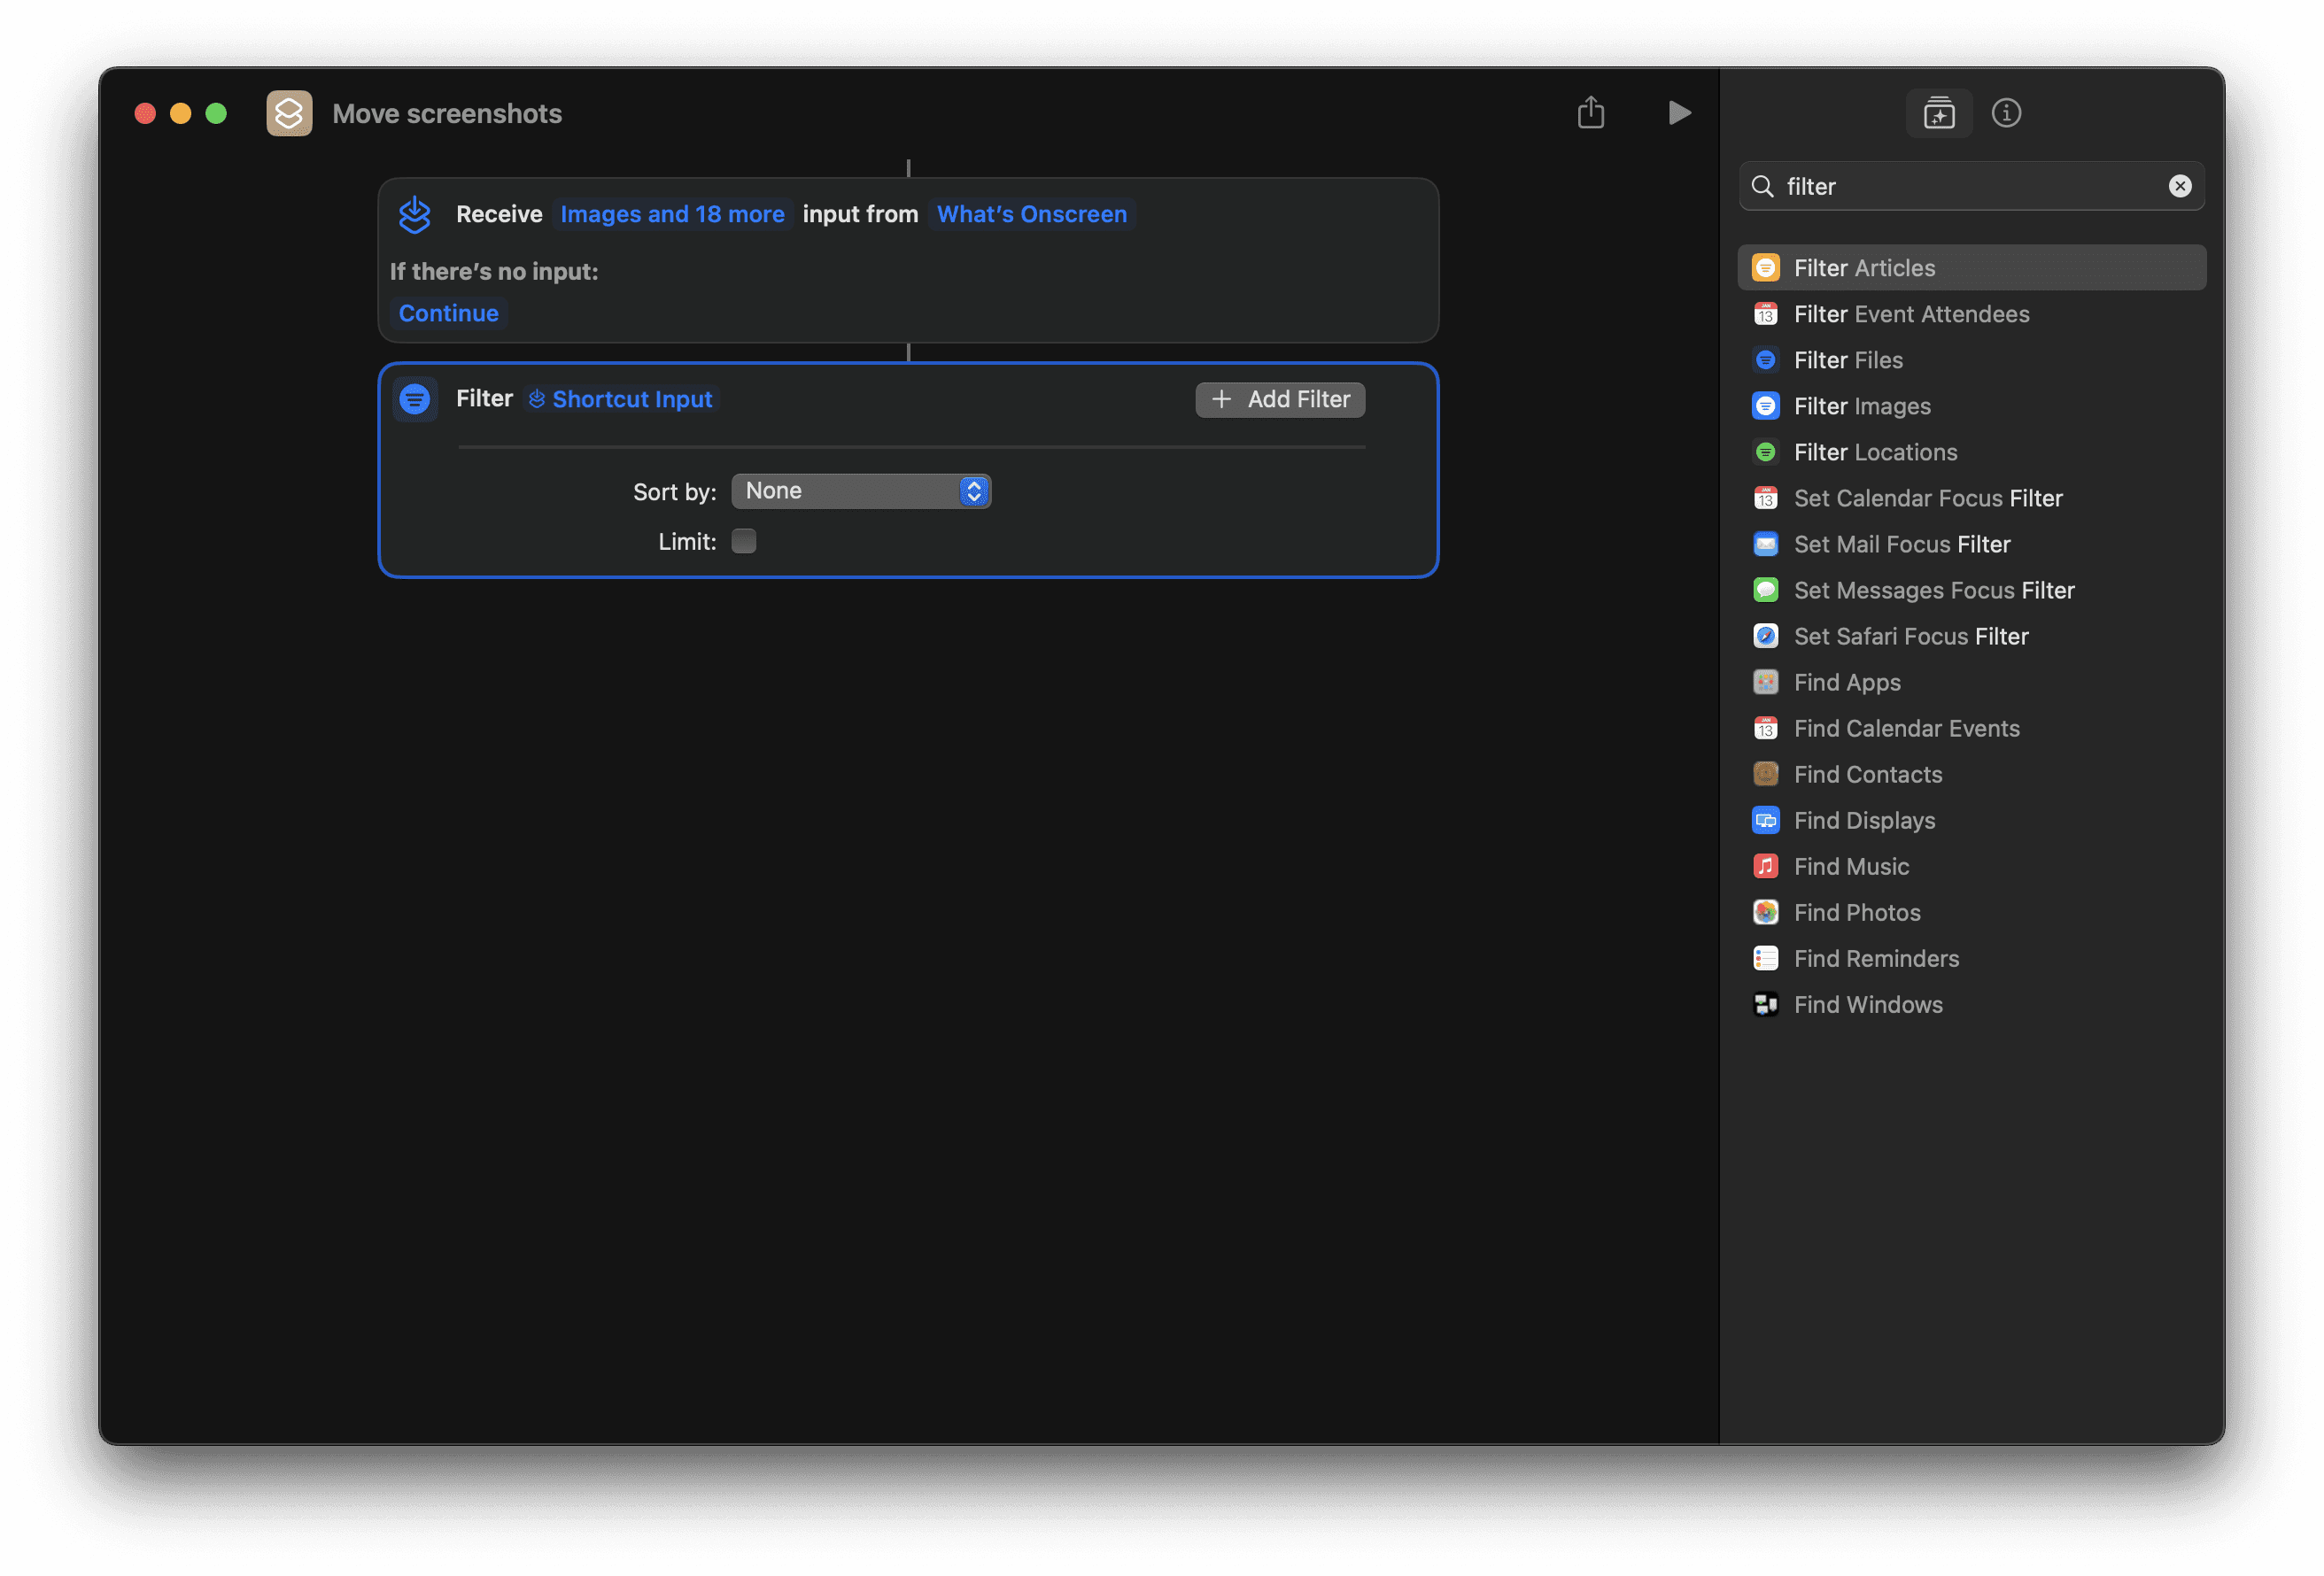
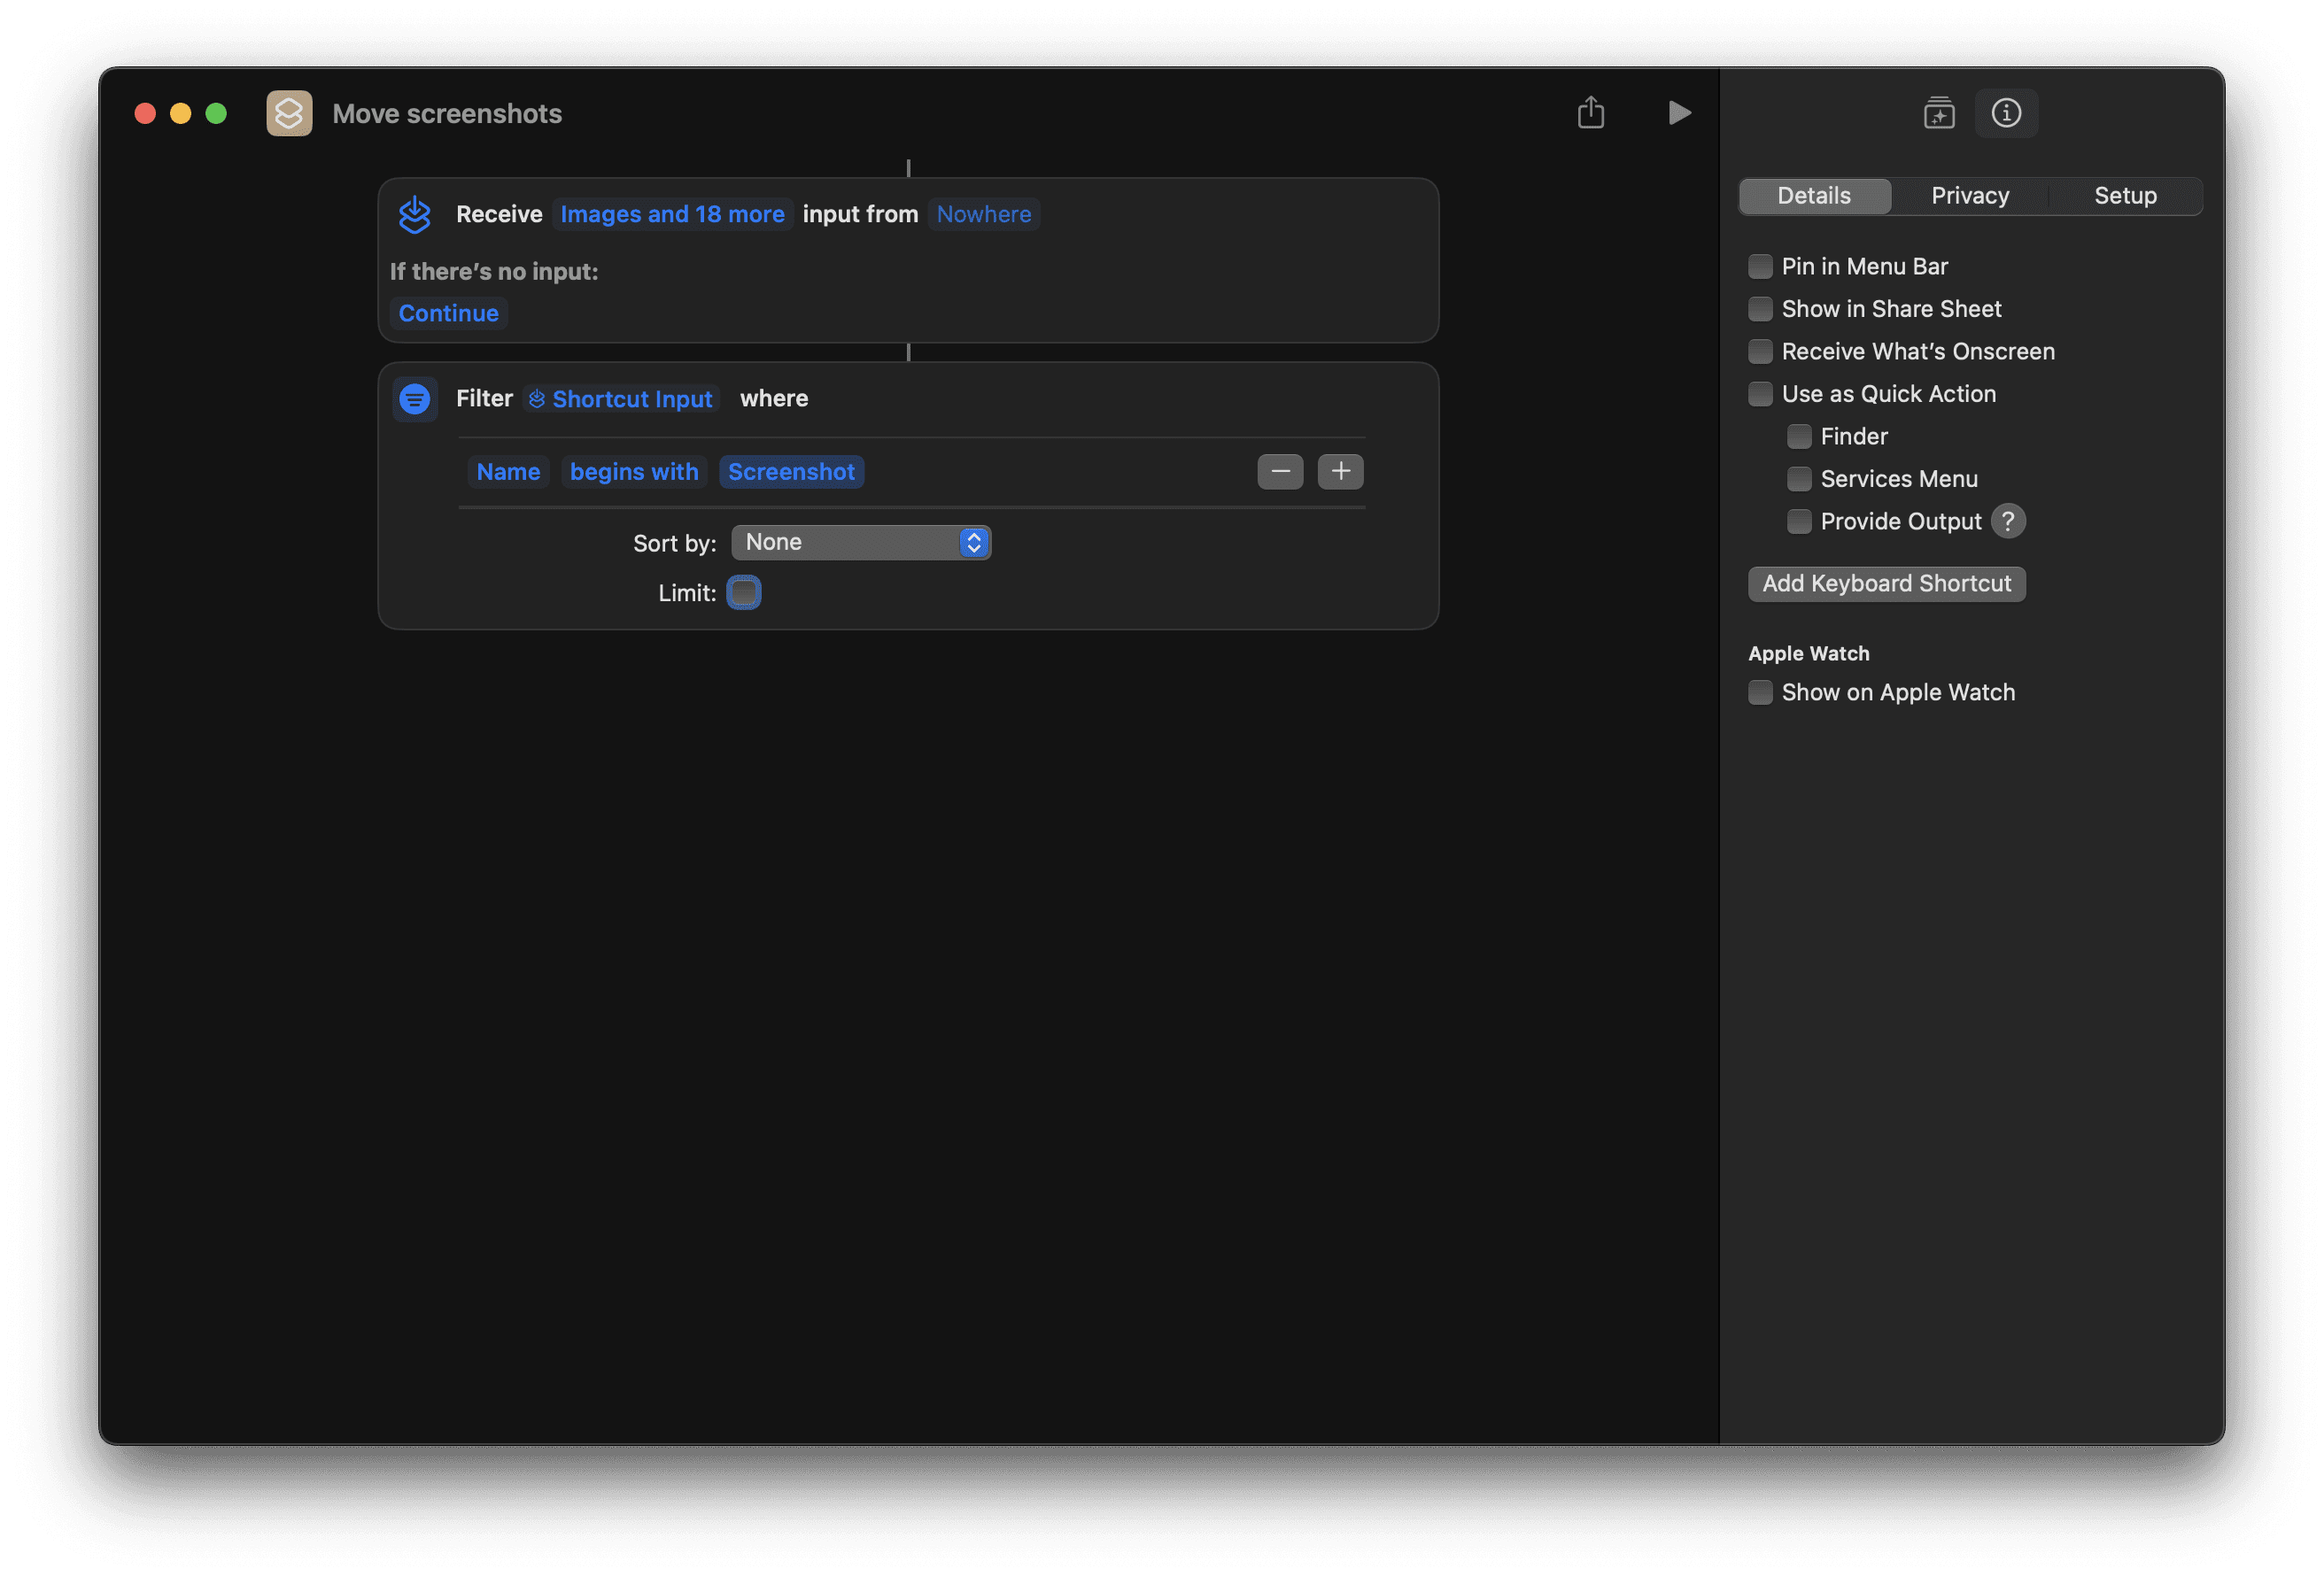
3. Add the “Filter Files” Action
• Search for and add the “Filter Files” action.
• Configure it:
• Set the filter to “Shortcut Input” (this refers to the input received from the previous step).
• Add a condition:
• Name → “Begins with” → “Screenshot”.
• Ensure the “Sort by” is set to None and the “Limit” toggle is off.
• Once done, go back the I option and deselect Use as quick Action.
• The Shortcut inputs will reset to Nothing instead of from Quick Actions
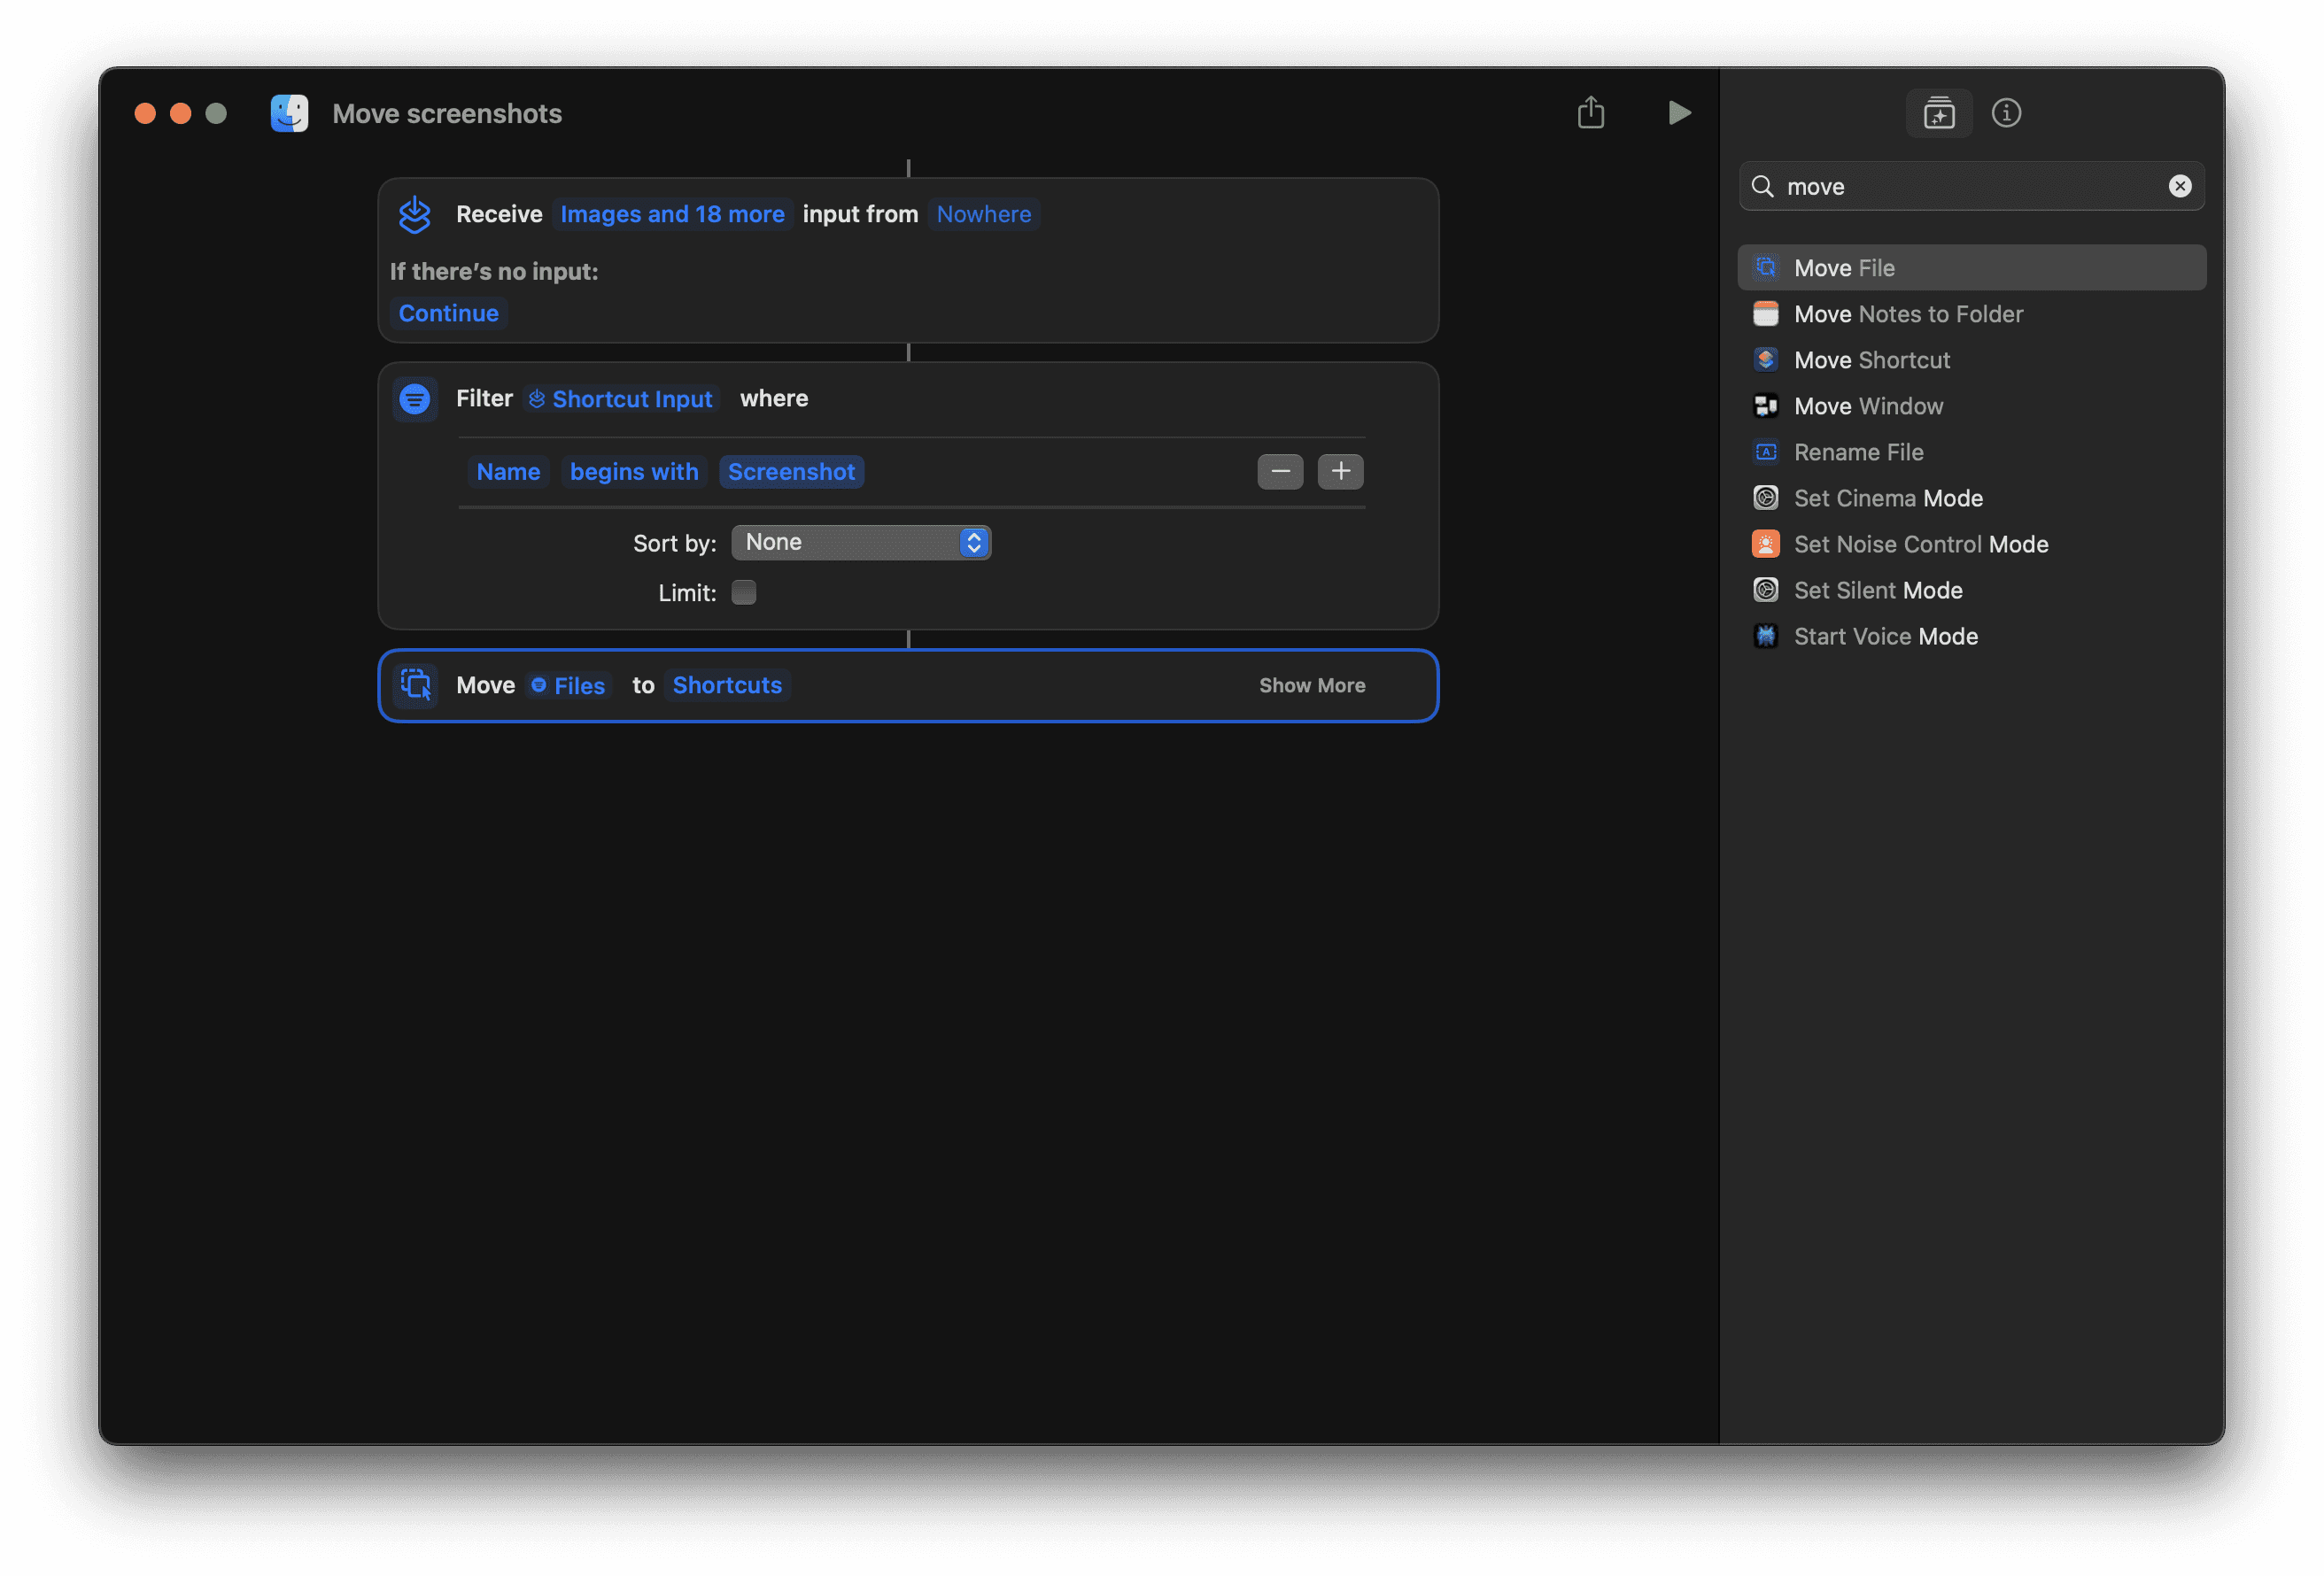
4. Add the “Move Files” Action
• Search for and add the “Move Files” action.
• Configure it:
• Move Files: Use the files from the filtered list (automatically connected to the previous step).
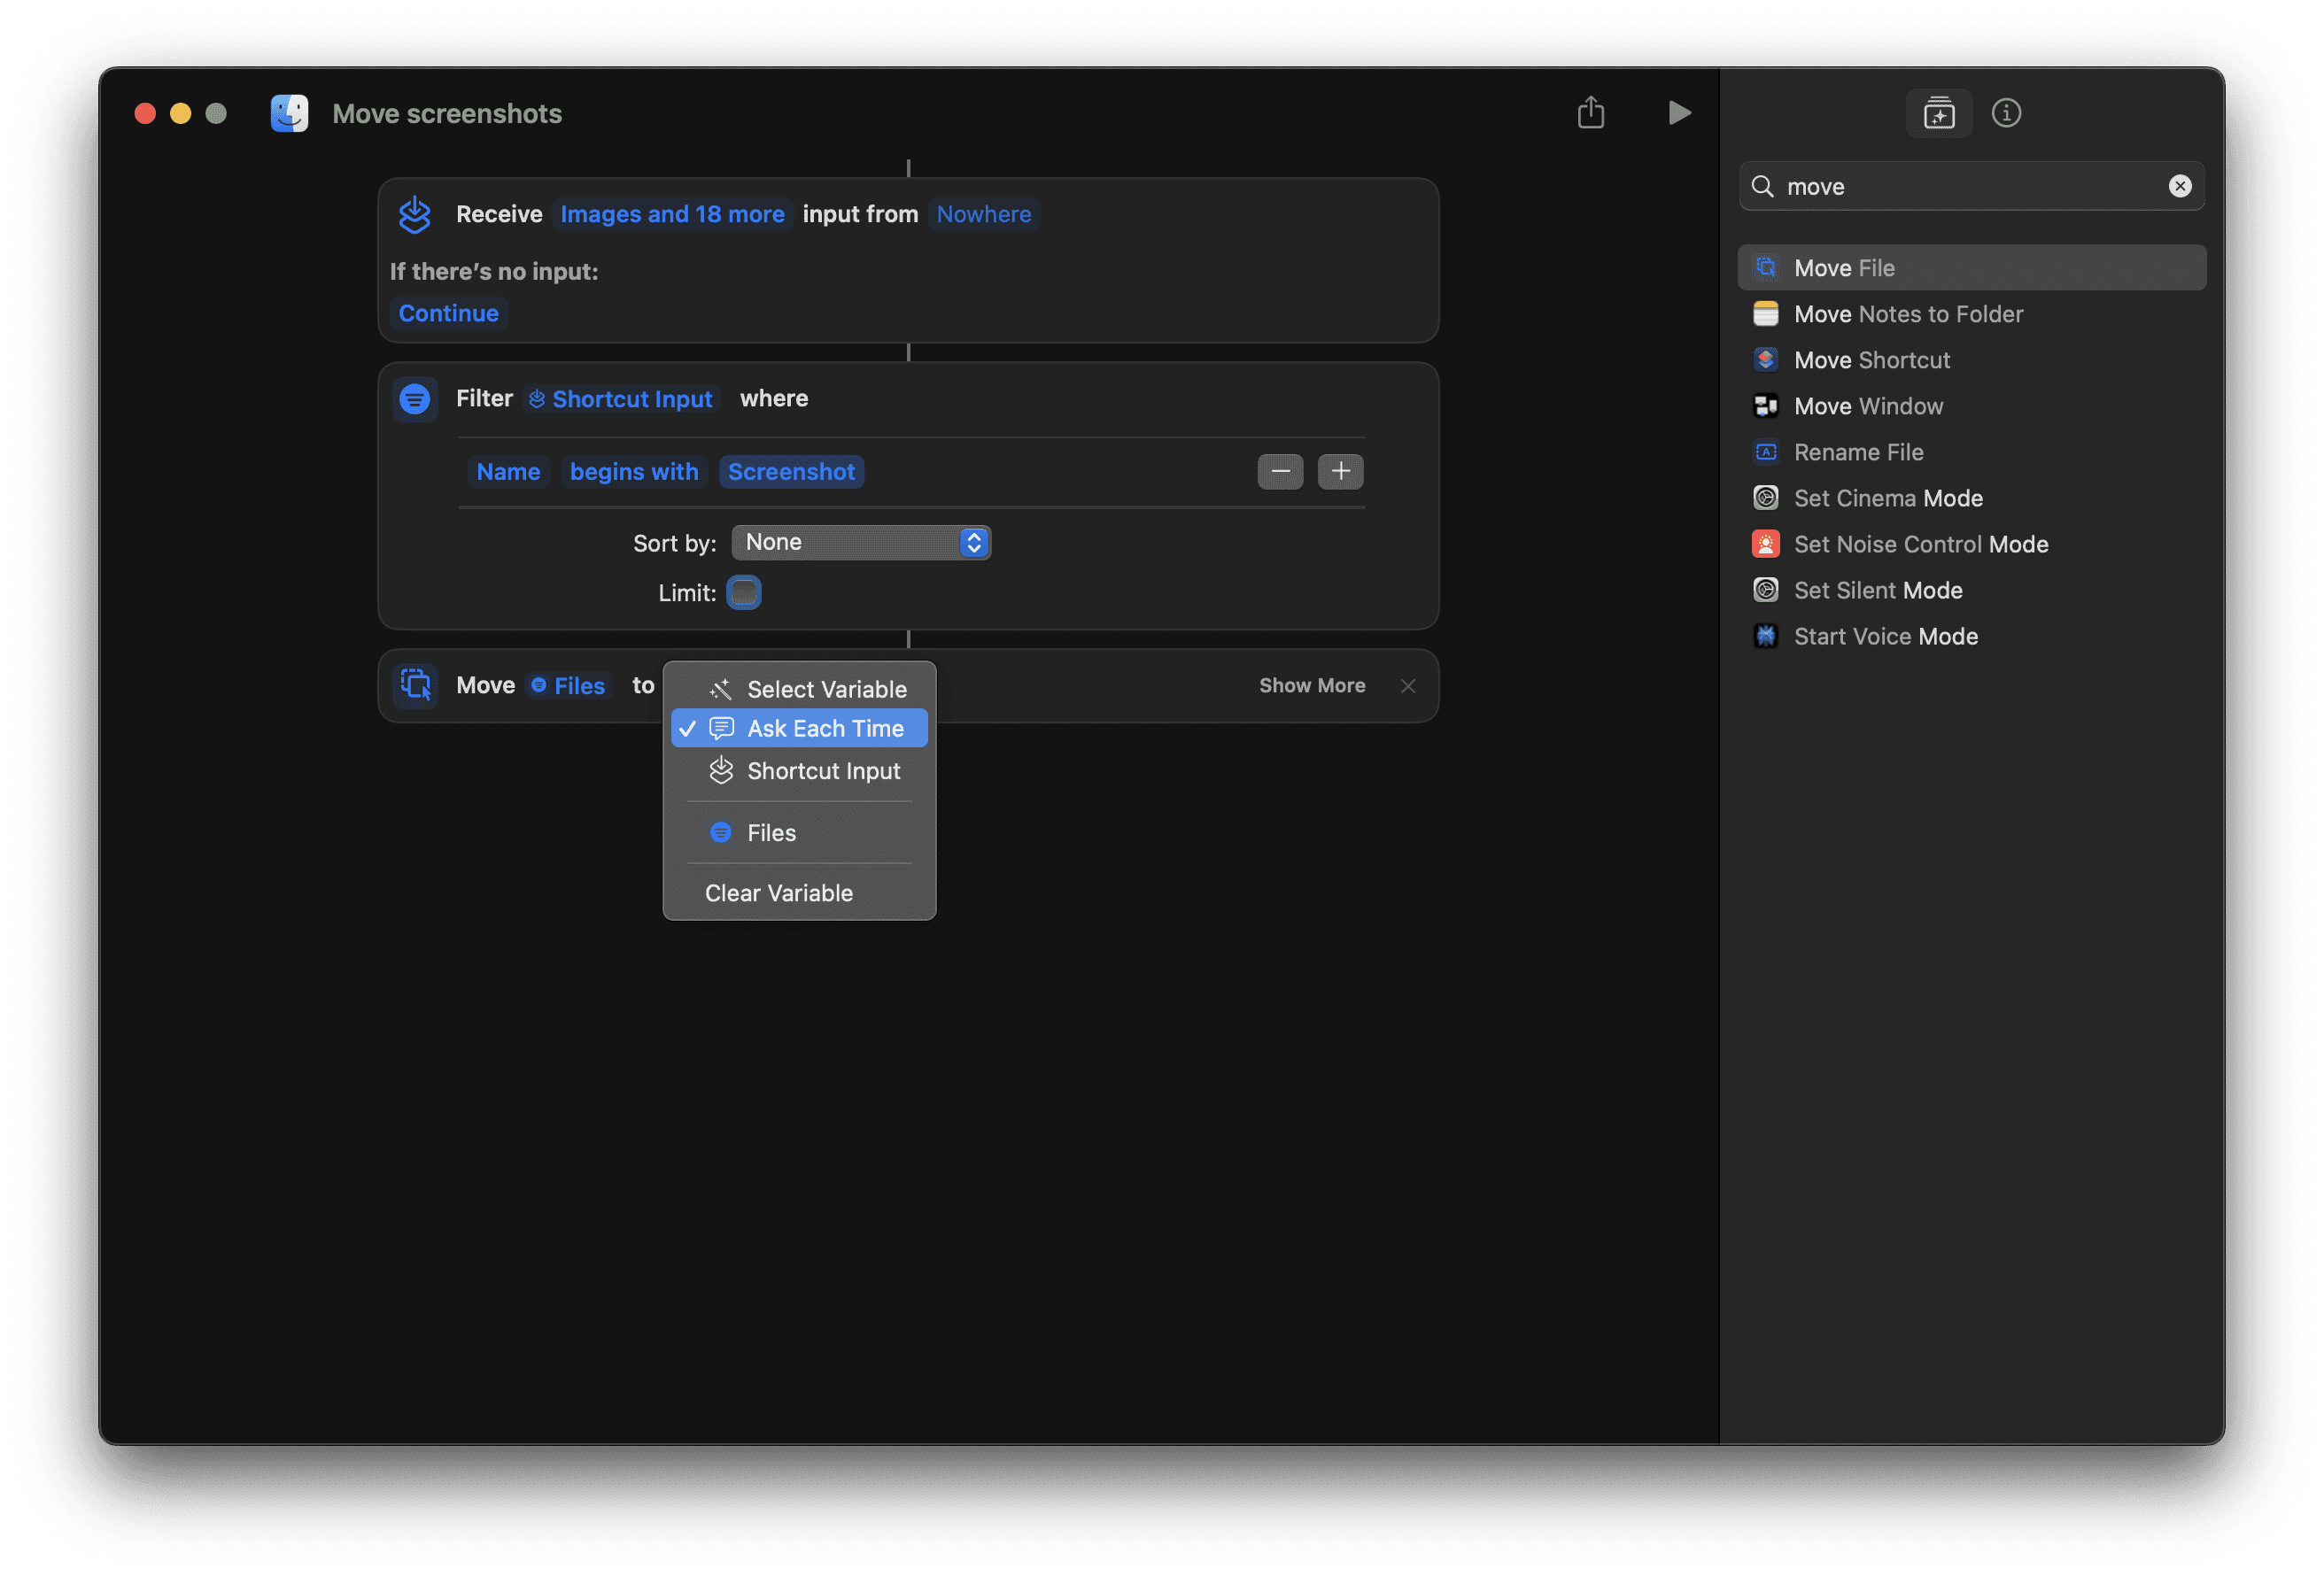
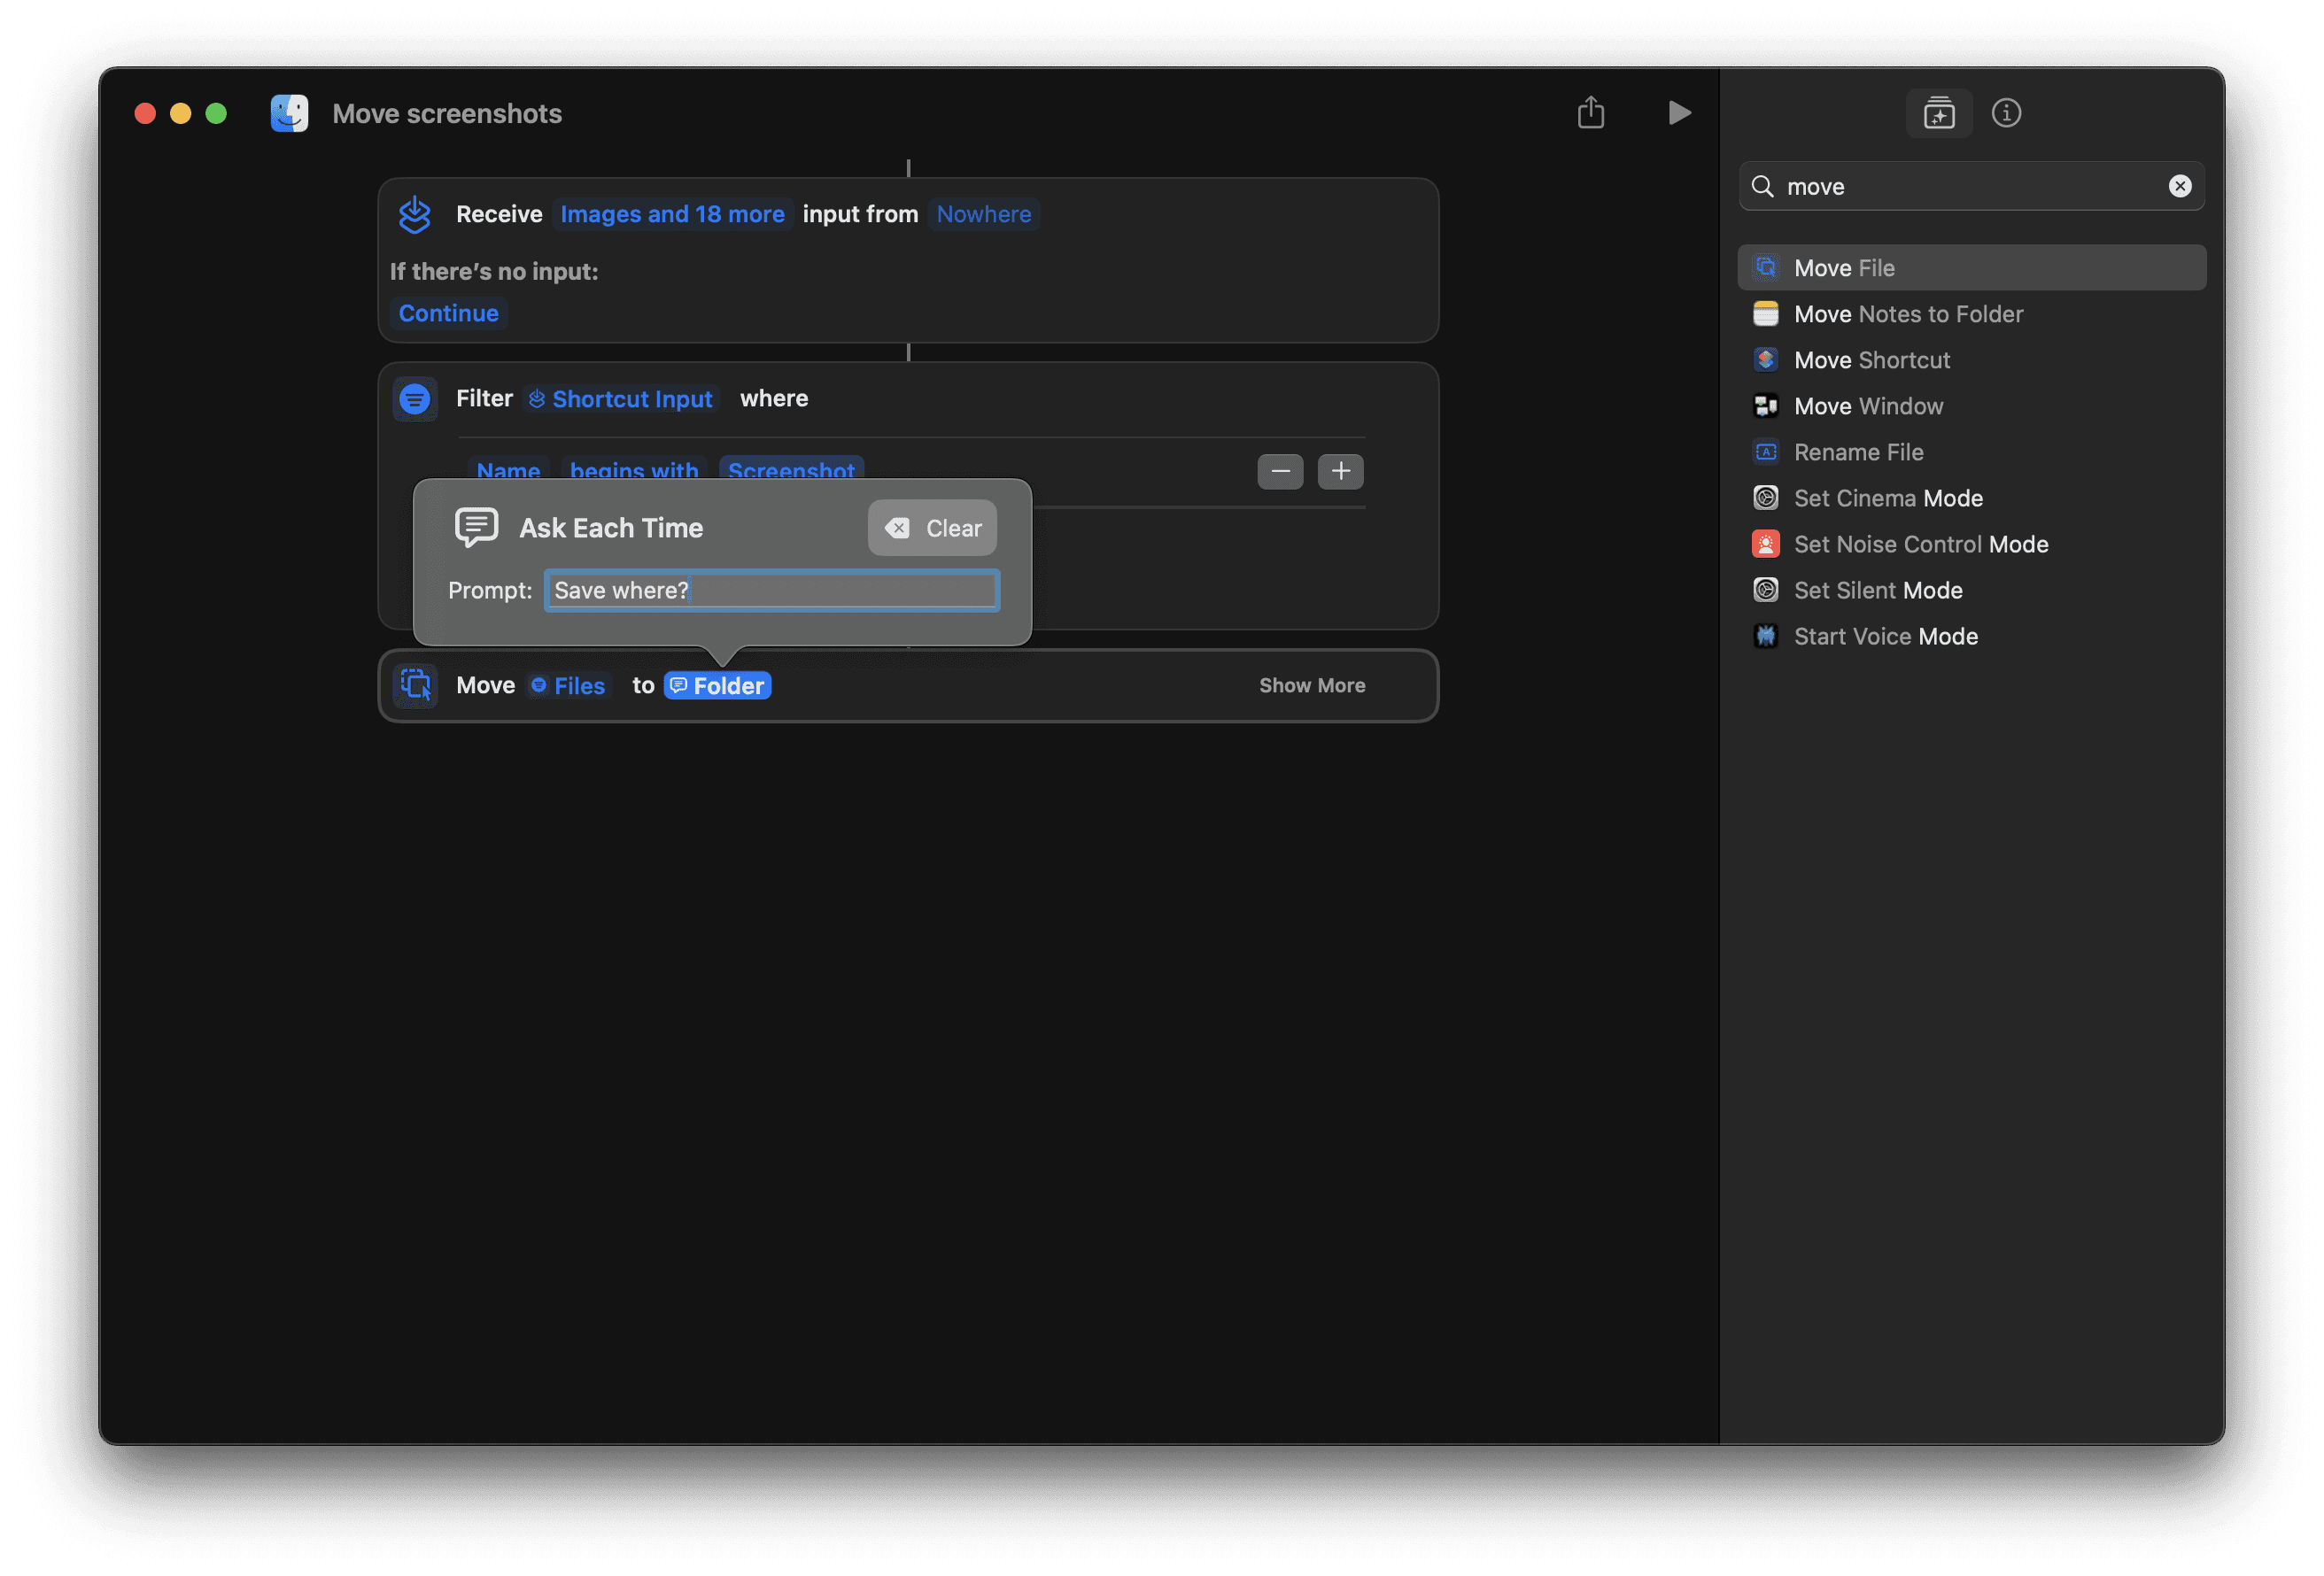
• To: Choose a destination folder where you want the files to be moved. For example, click “Folder” and select a folder from your device.

5. Test the Shortcut
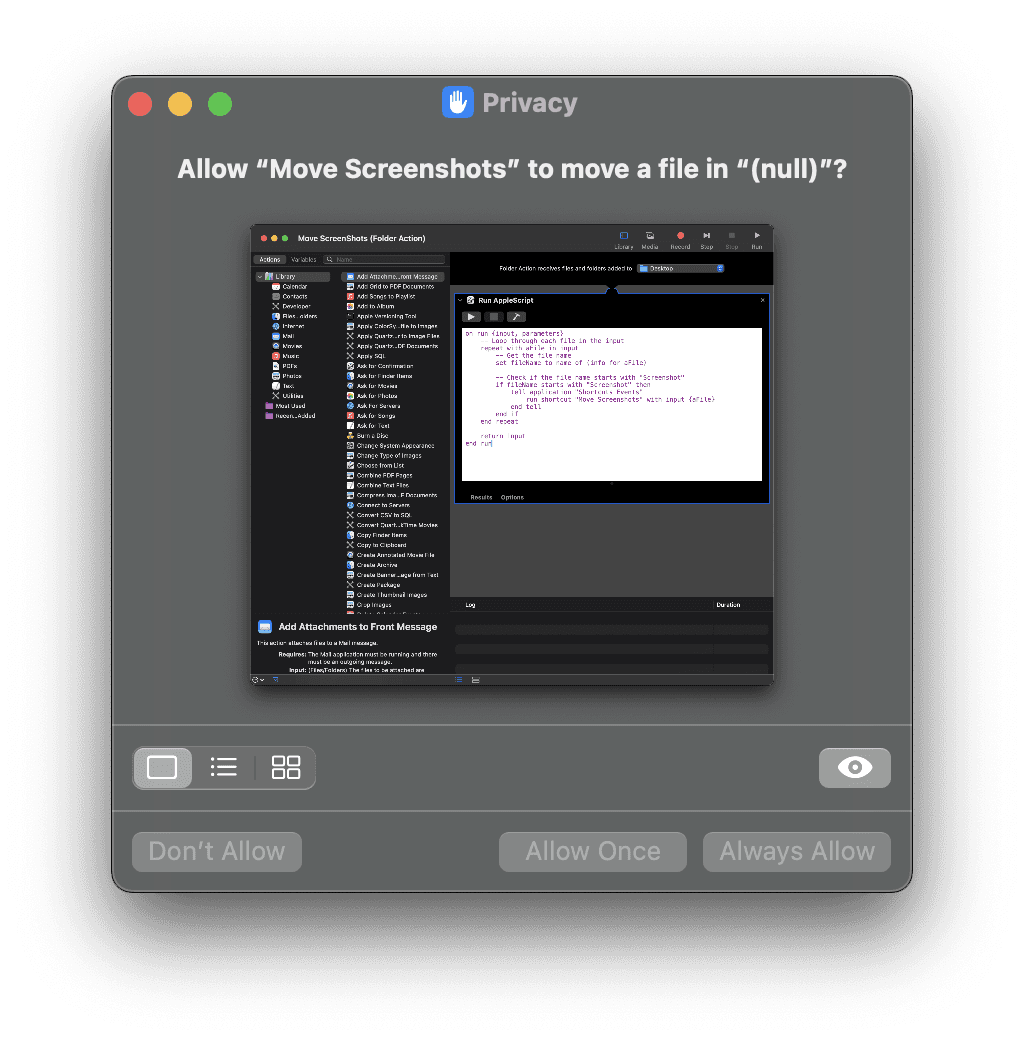
• Run it by taking a screen shot, you should see a little cog icon appear in the menu bar across the top of the screen. You will see a privacy dialog asking you to allow the Shortcut to move the screenshot, select Always Allow, this will only appear on the first run.
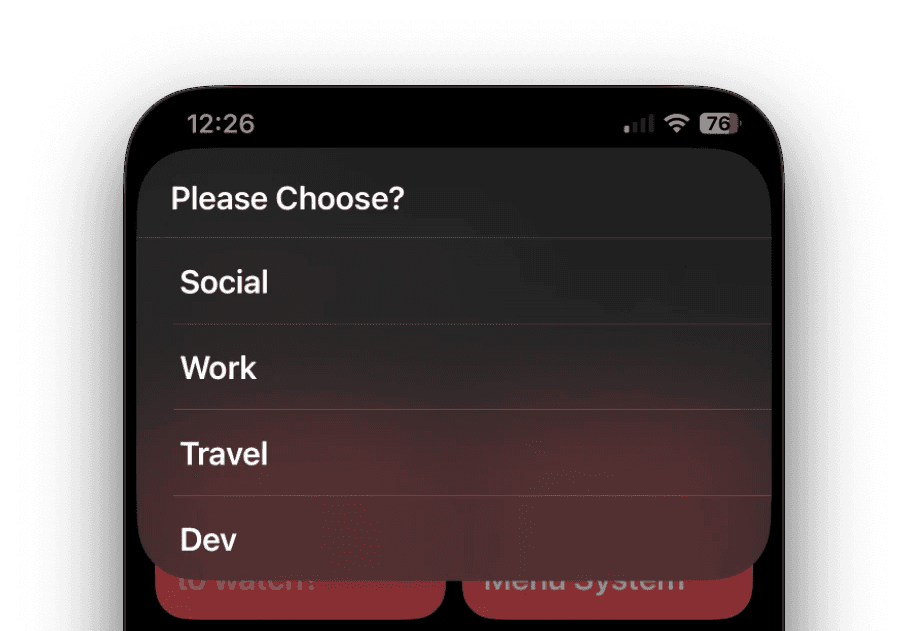
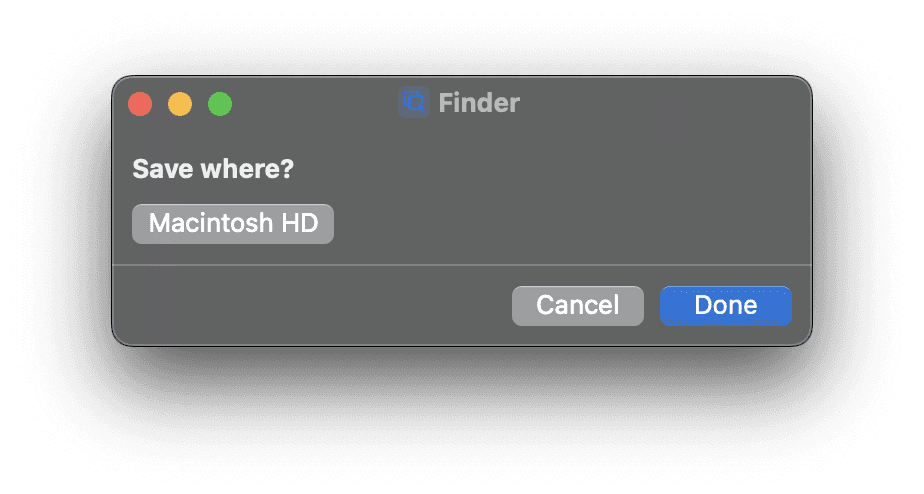
Then a dialog window will appear with a button labelled Shortcuts, selecting that will bring up a Finder window where you can select your path of where you want to save the screenshot.
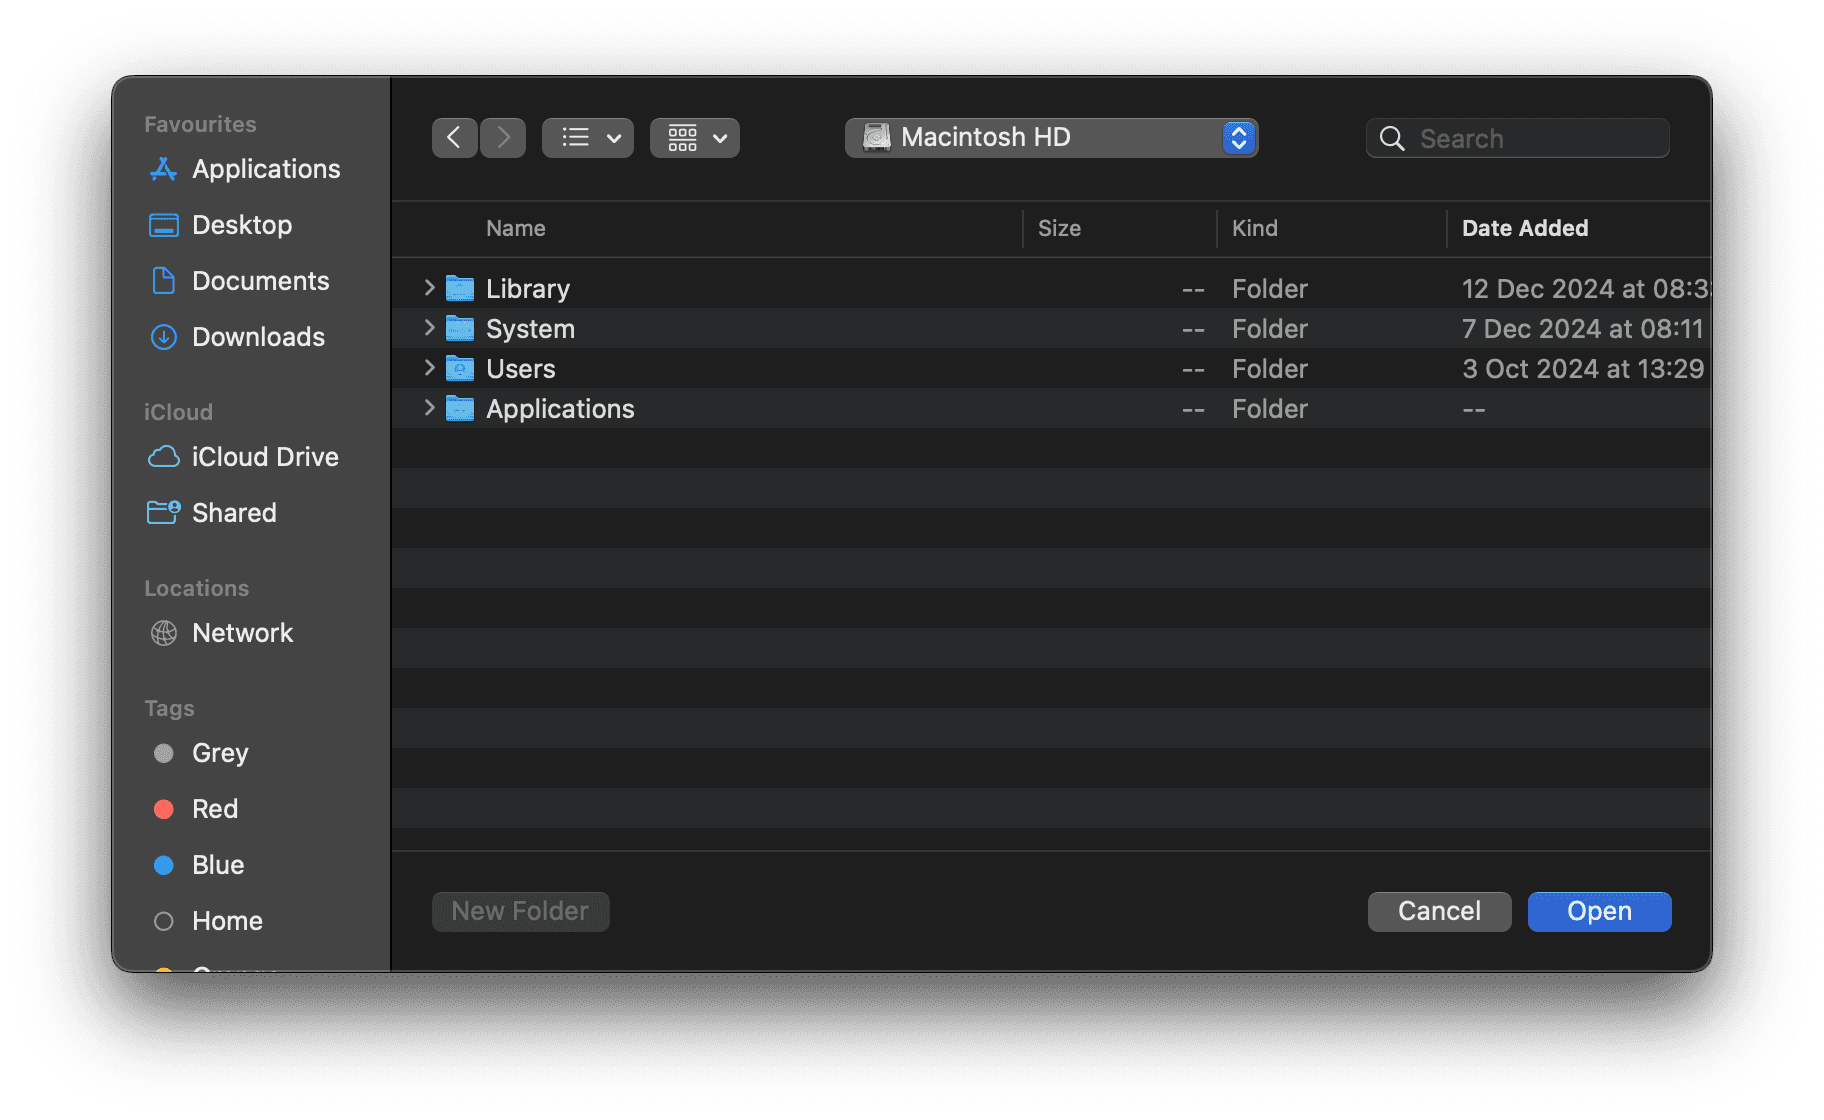
Once you’re done, you’ll see another dialog. The button label will now show the folder name where the screenshot will be saved. When you click Done, the screenshot will vanish from your Desktop and be moved to the folder you picked.
I’m excited to share this shortcut with you, but it’s not quite finished yet. I have a few ideas for improvements, like the ability to rename the file before moving it. I’ll keep you posted as I work on these features. Stay tuned!
Comments